

Xero
Connect your Super Payments account to Xero so your customers can pay your invoices with Super.

Connecting Super to Xero lets you add a Pay with Super Payments button to your Xero invoices. Your customer pays using any of the methods you have enabled for your brand, and the funds settle into the Xero bank account you nominate.
What this guide coversConnecting your account to Xero, creating an invoice your customers can pay with Super, what your customer sees, and how to manage the connection afterwards.
Before You Start
Make sure you have:
- Access to the Business Portal.
- A Xero login with access to the organisation you want to connect.
- A GBP bank account set up in that Xero organisation.
Supported organisationsSuper only supports Xero organisations with GBP bank accounts. Accounts in other currencies are visible when you configure the connection but cannot be selected.
You can only have one active Xero connection at a time. If you already have one, expand Managing Your Connection below.
Part 1: Connect Super to Xero
Step 1: Open Connections
In the Business Portal, go to Settings, scroll to the bottom and select Connections. If you have not connected anything yet, the list is empty.
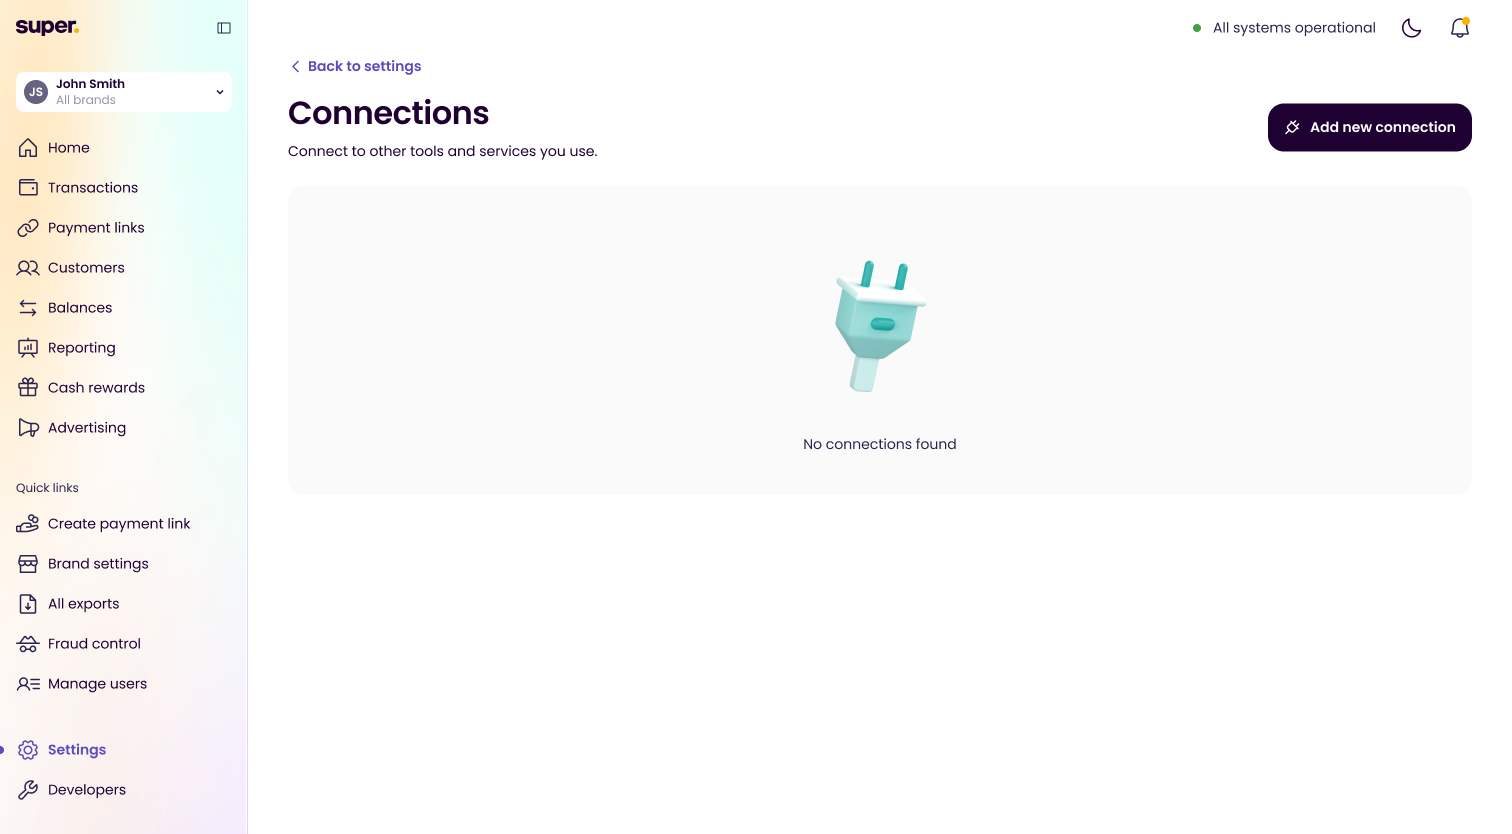
The Connections page with no connections yet
Step 2: Add a New Connection
Select Add new connection in the top right. A panel opens with two stages: Connect to provider and Configure connection.
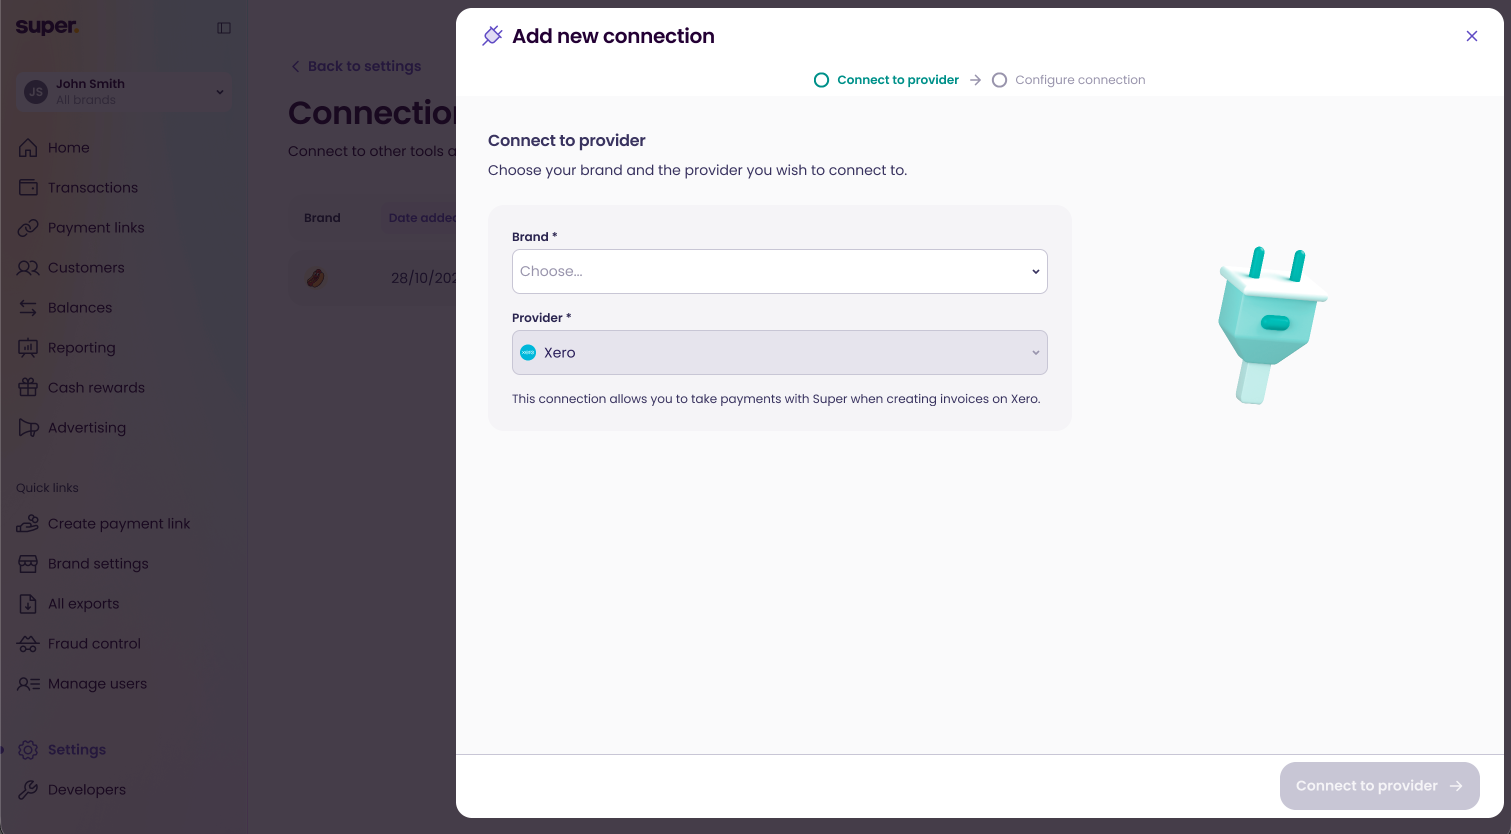
The Add new connection panel
Step 3: Choose Your Brand
In the Brand dropdown, choose the brand you want to use for your invoices. Xero is already selected as the provider.
Once you pick a brand, the payment methods it offers are displayed - for example Pay Later, Bank app and Card. These are the options your customers see when they pay an invoice, so choose the brand that has the right methods enabled.
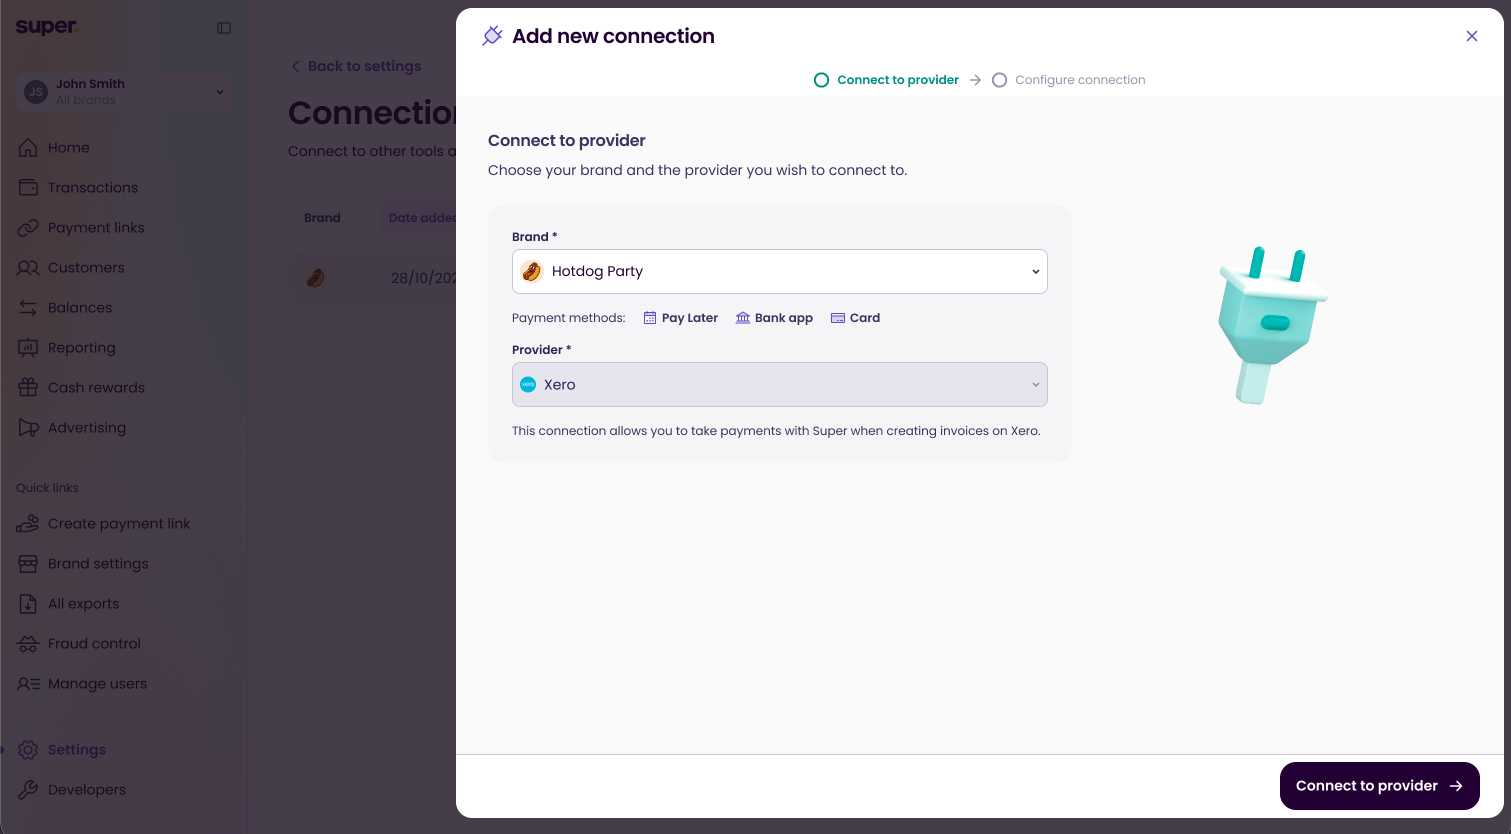
A brand selected, showing its payment methods
Step 4: Connect to Xero
Select Connect to provider. Xero opens and asks you to log in.
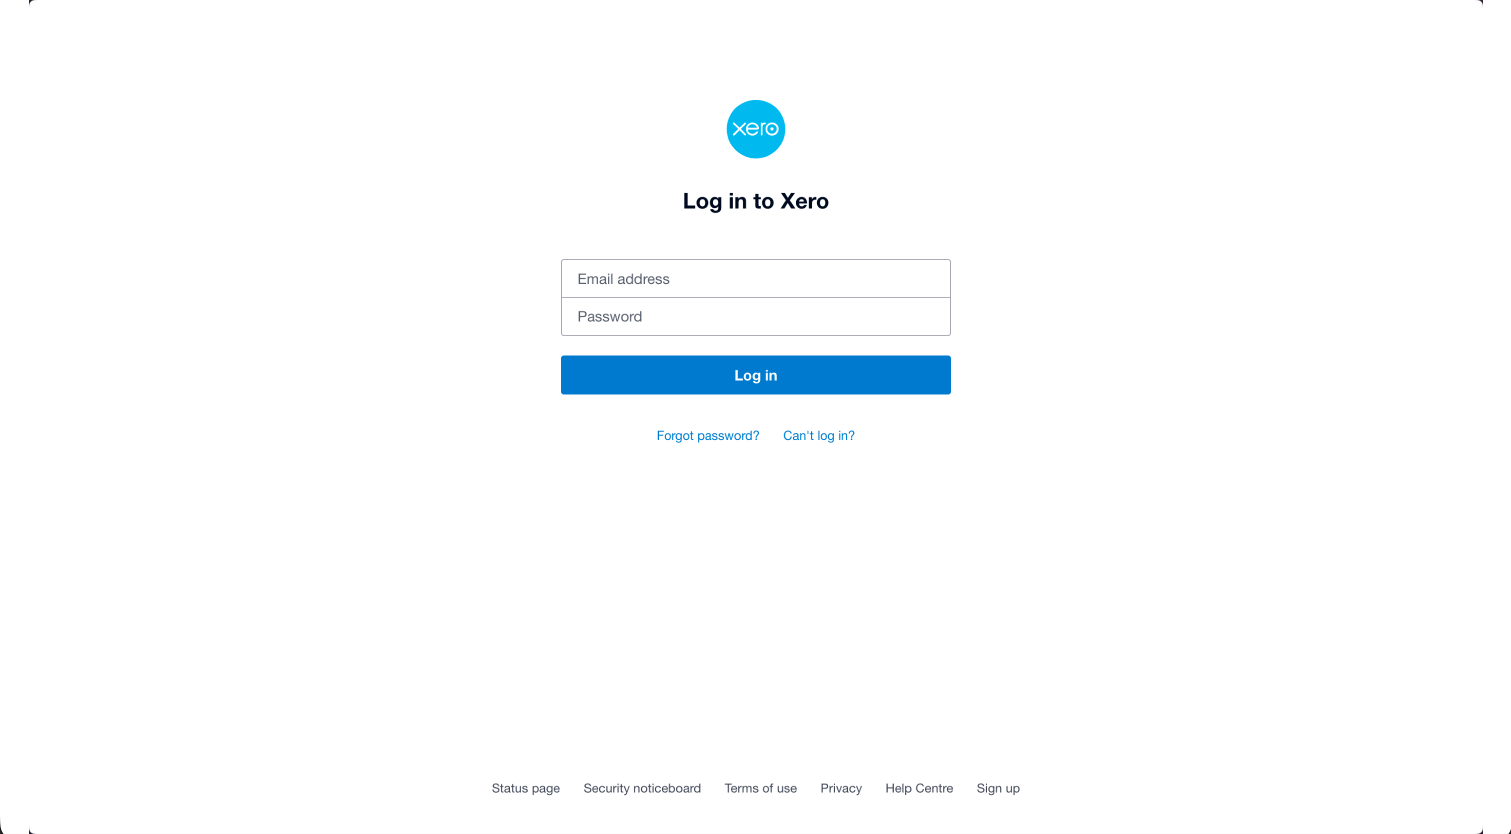
Log in with your Xero details
Step 5: Allow Access to Your Xero Organisation
Xero asks you to choose the organisation you want to connect and to allow Super access to it. You can only add one organisation at a time. Select Allow access to continue.
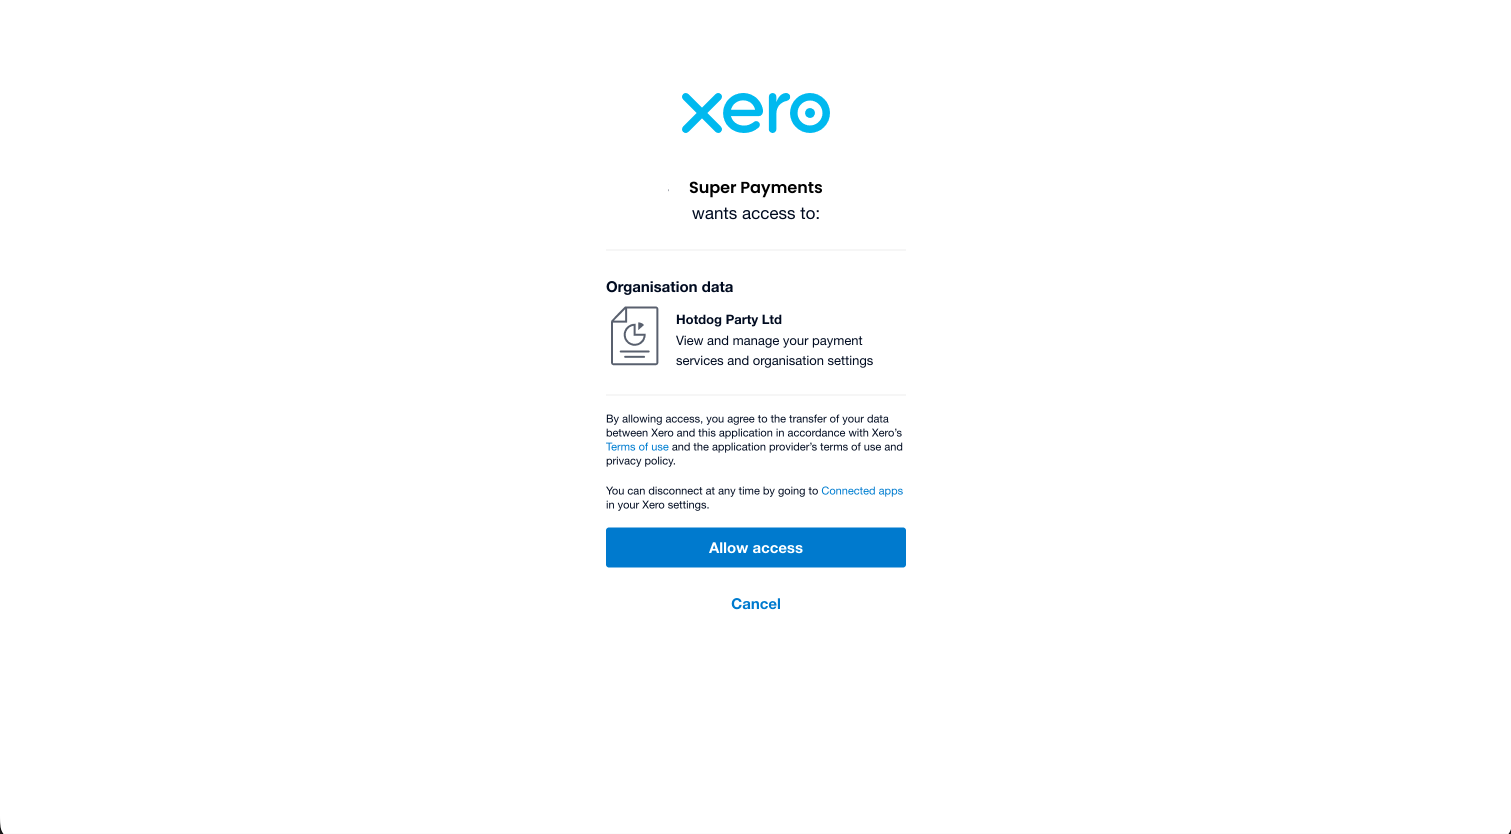
Allow Super Payments to access your Xero organisation
Step 6: Configure the Connection
You are returned to Super, where the Xero organisation you just added is shown. The panel also shows which Xero login authorised the connection.
Who can add organisations laterOnly the Xero login that authorised the connection can add another organisation to it later.
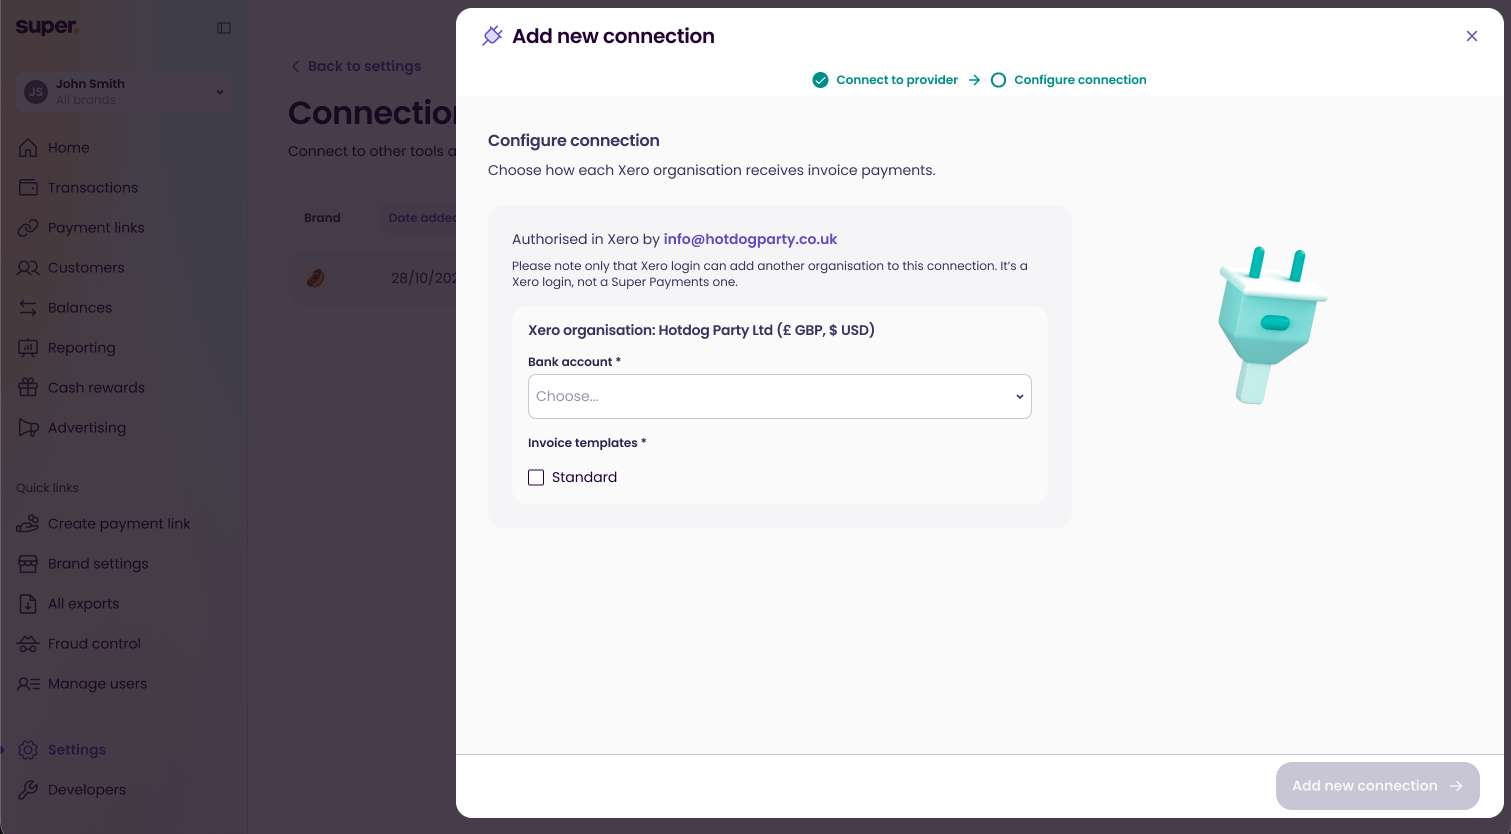
Your Xero organisation added to the connection
Choose the Bank account you want funds to go into when an invoice is paid, then choose the default Xero Invoice template you want to use.
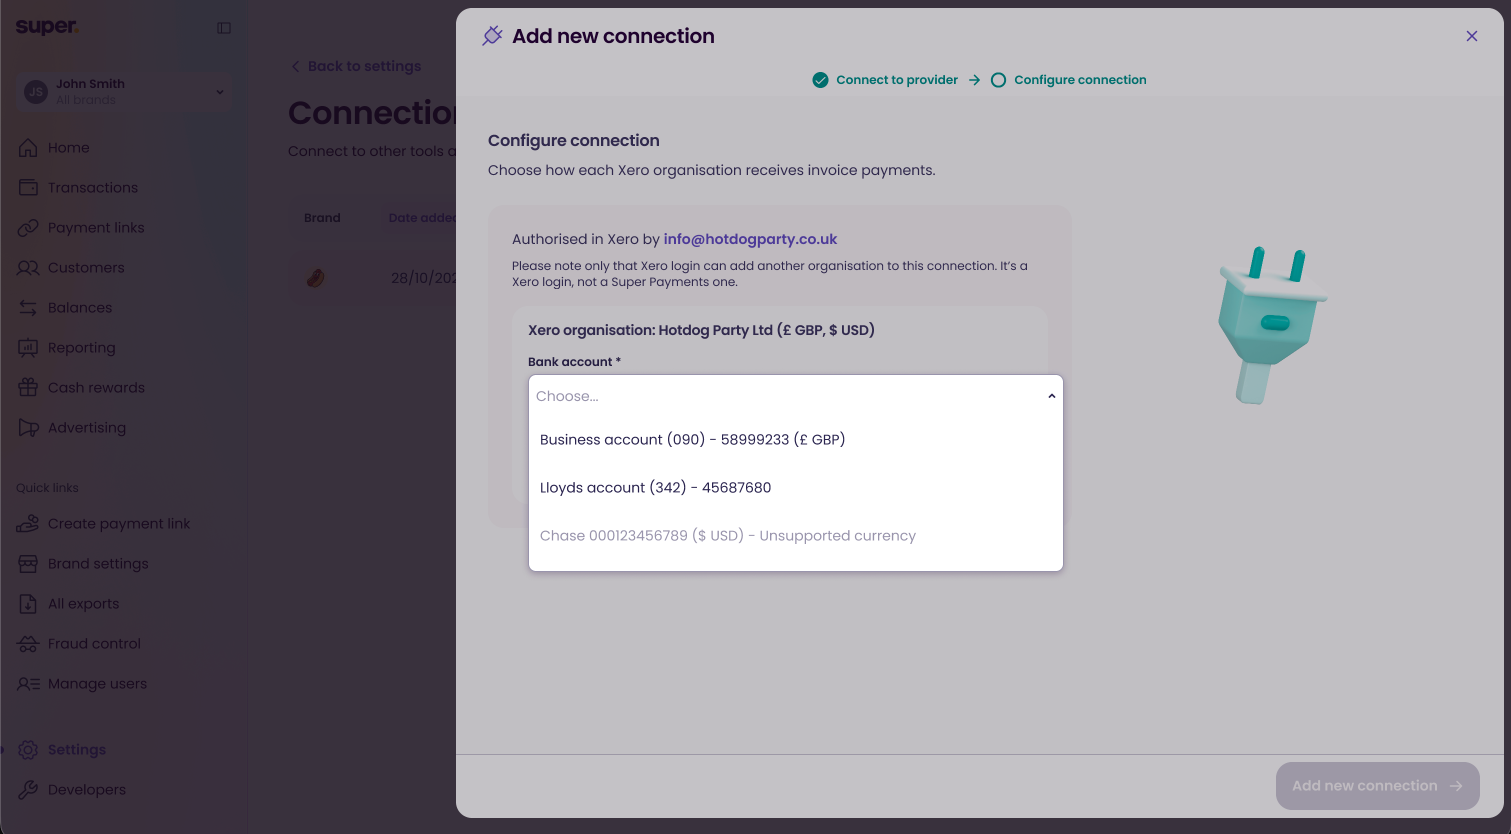
Choose a GBP bank account for payments
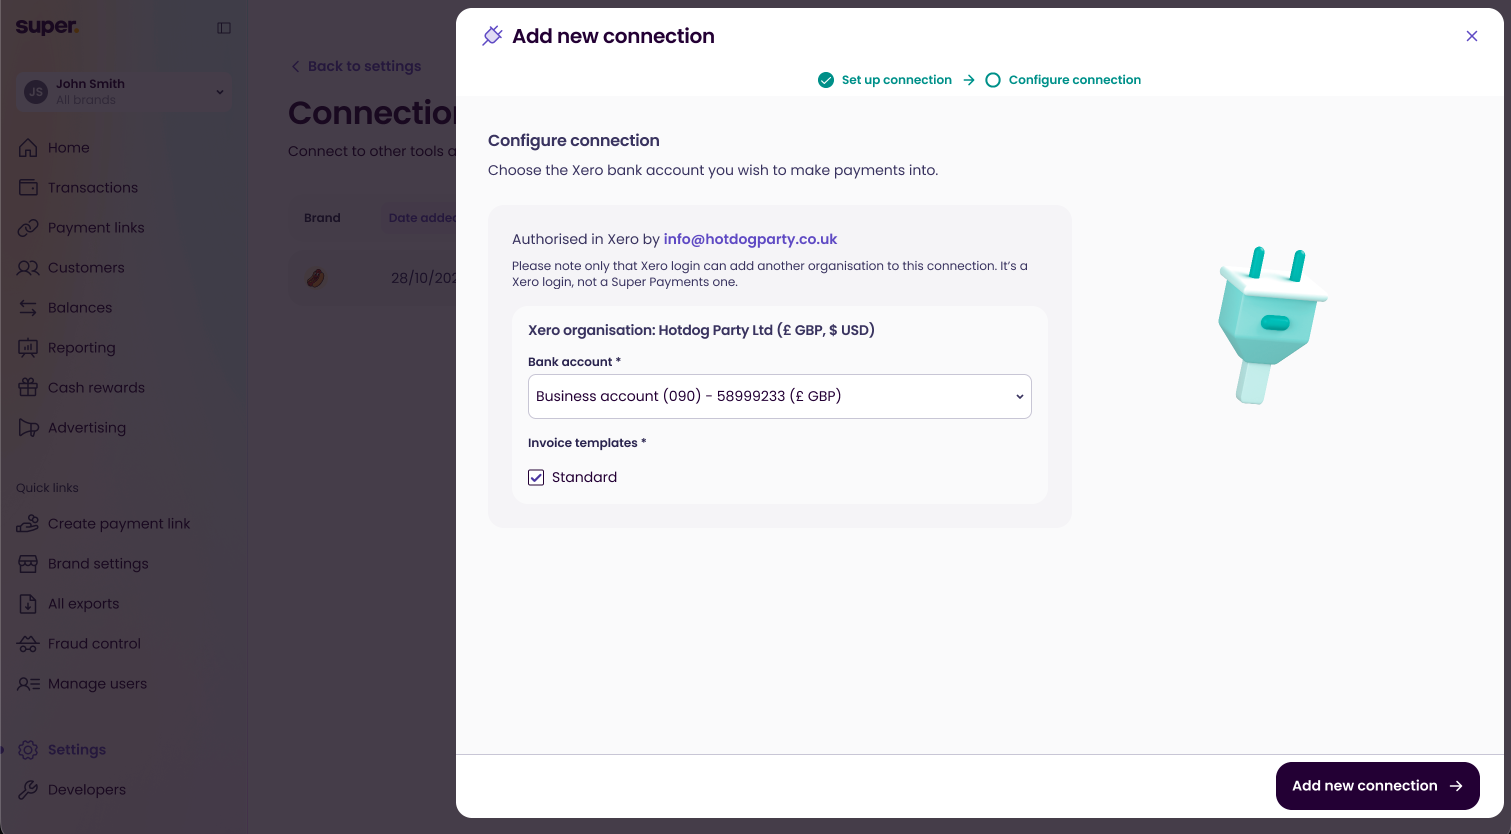
Bank account and invoice template chosen
Step 7: Add the Connection
Select Add new connection. A confirmation message is displayed and your new connection appears in the list with an Active status.
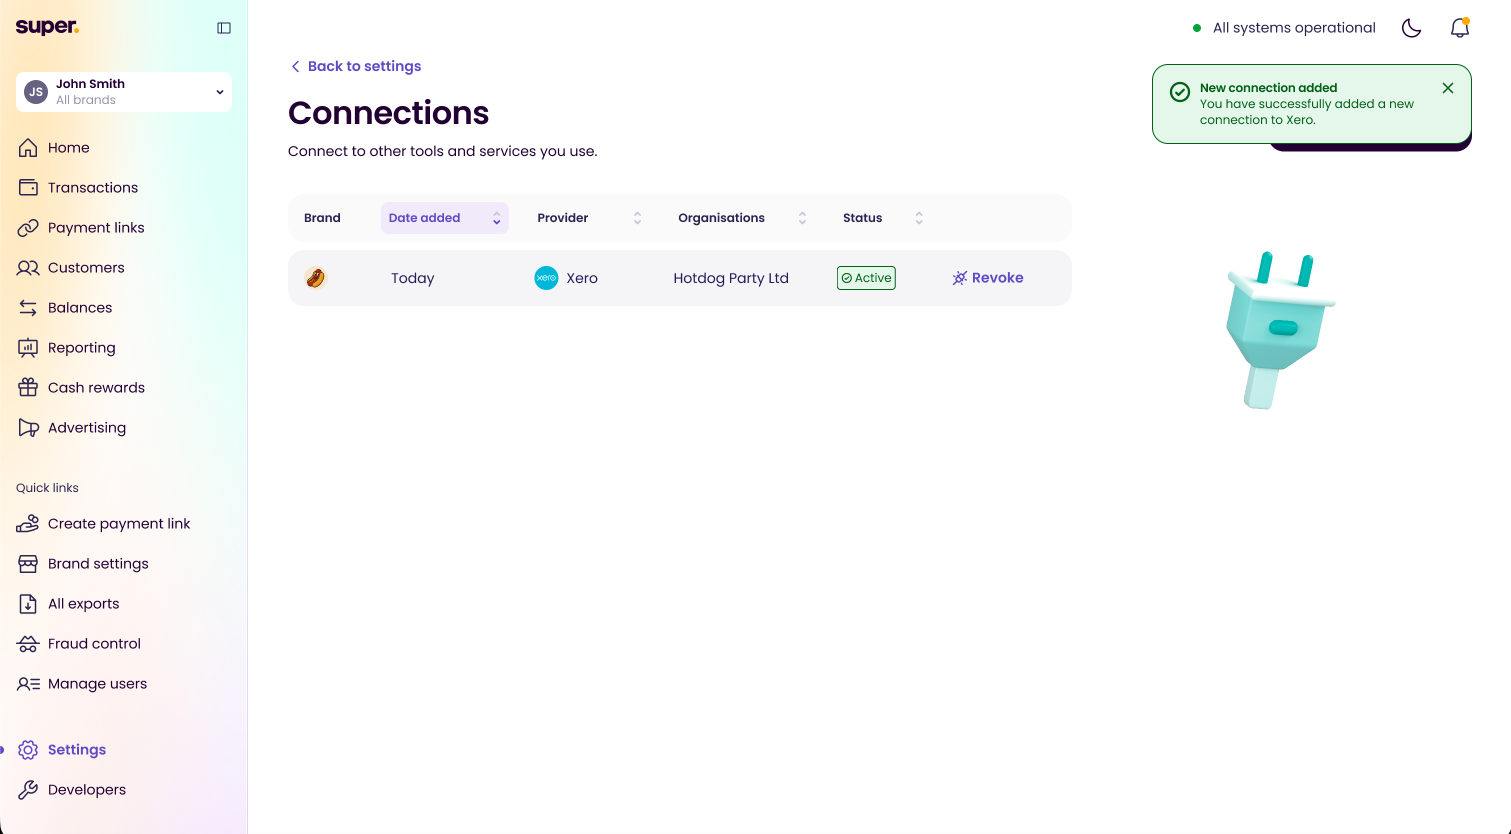
Your new active Xero connection
Part 2: Create an Invoice in Xero
Step 1: Create a New Invoice
In Xero, create an invoice as you normally would, adding the contact, dates and line items.
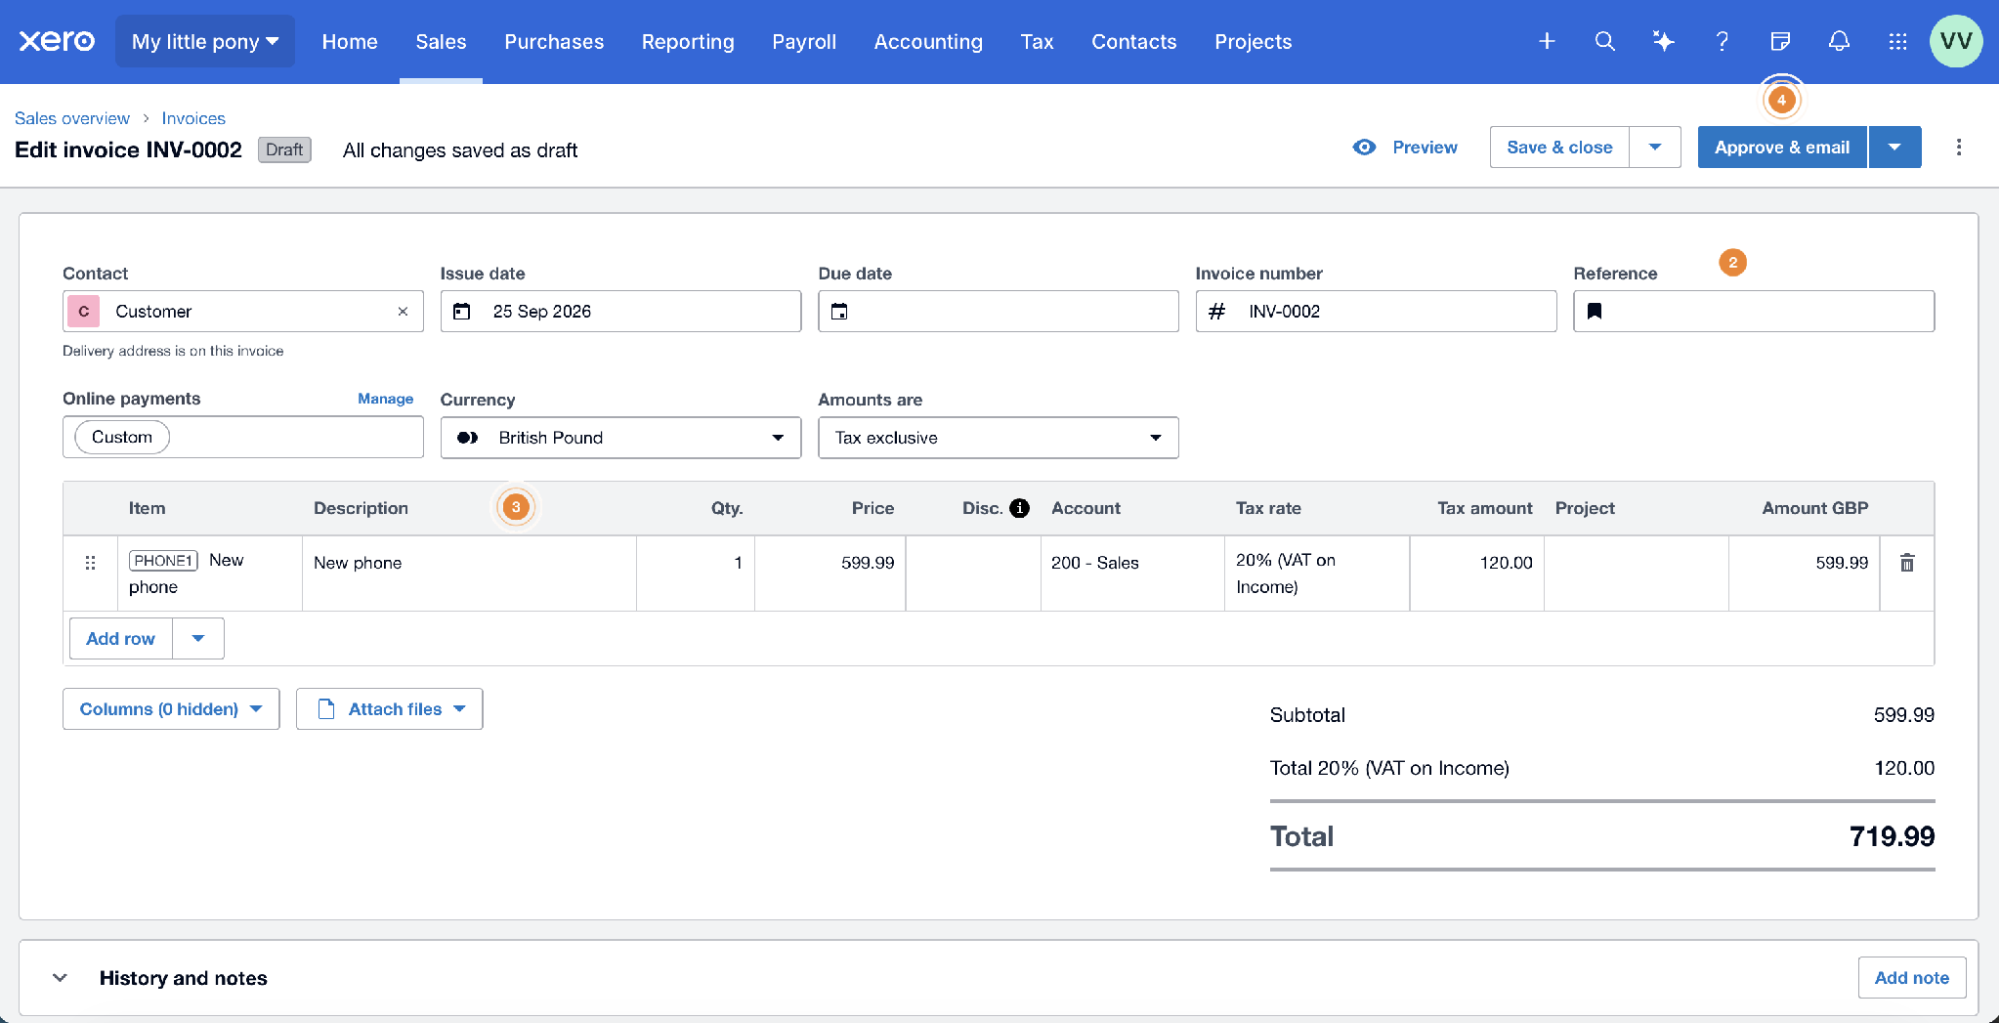
Creating a new invoice in Xero
Step 2: Choose Super Payments as the Payment Method
In the Online payments field, choose Custom, then select Super Payments from the list of online payment methods. Make sure Super Payments is switched on, then select Apply.
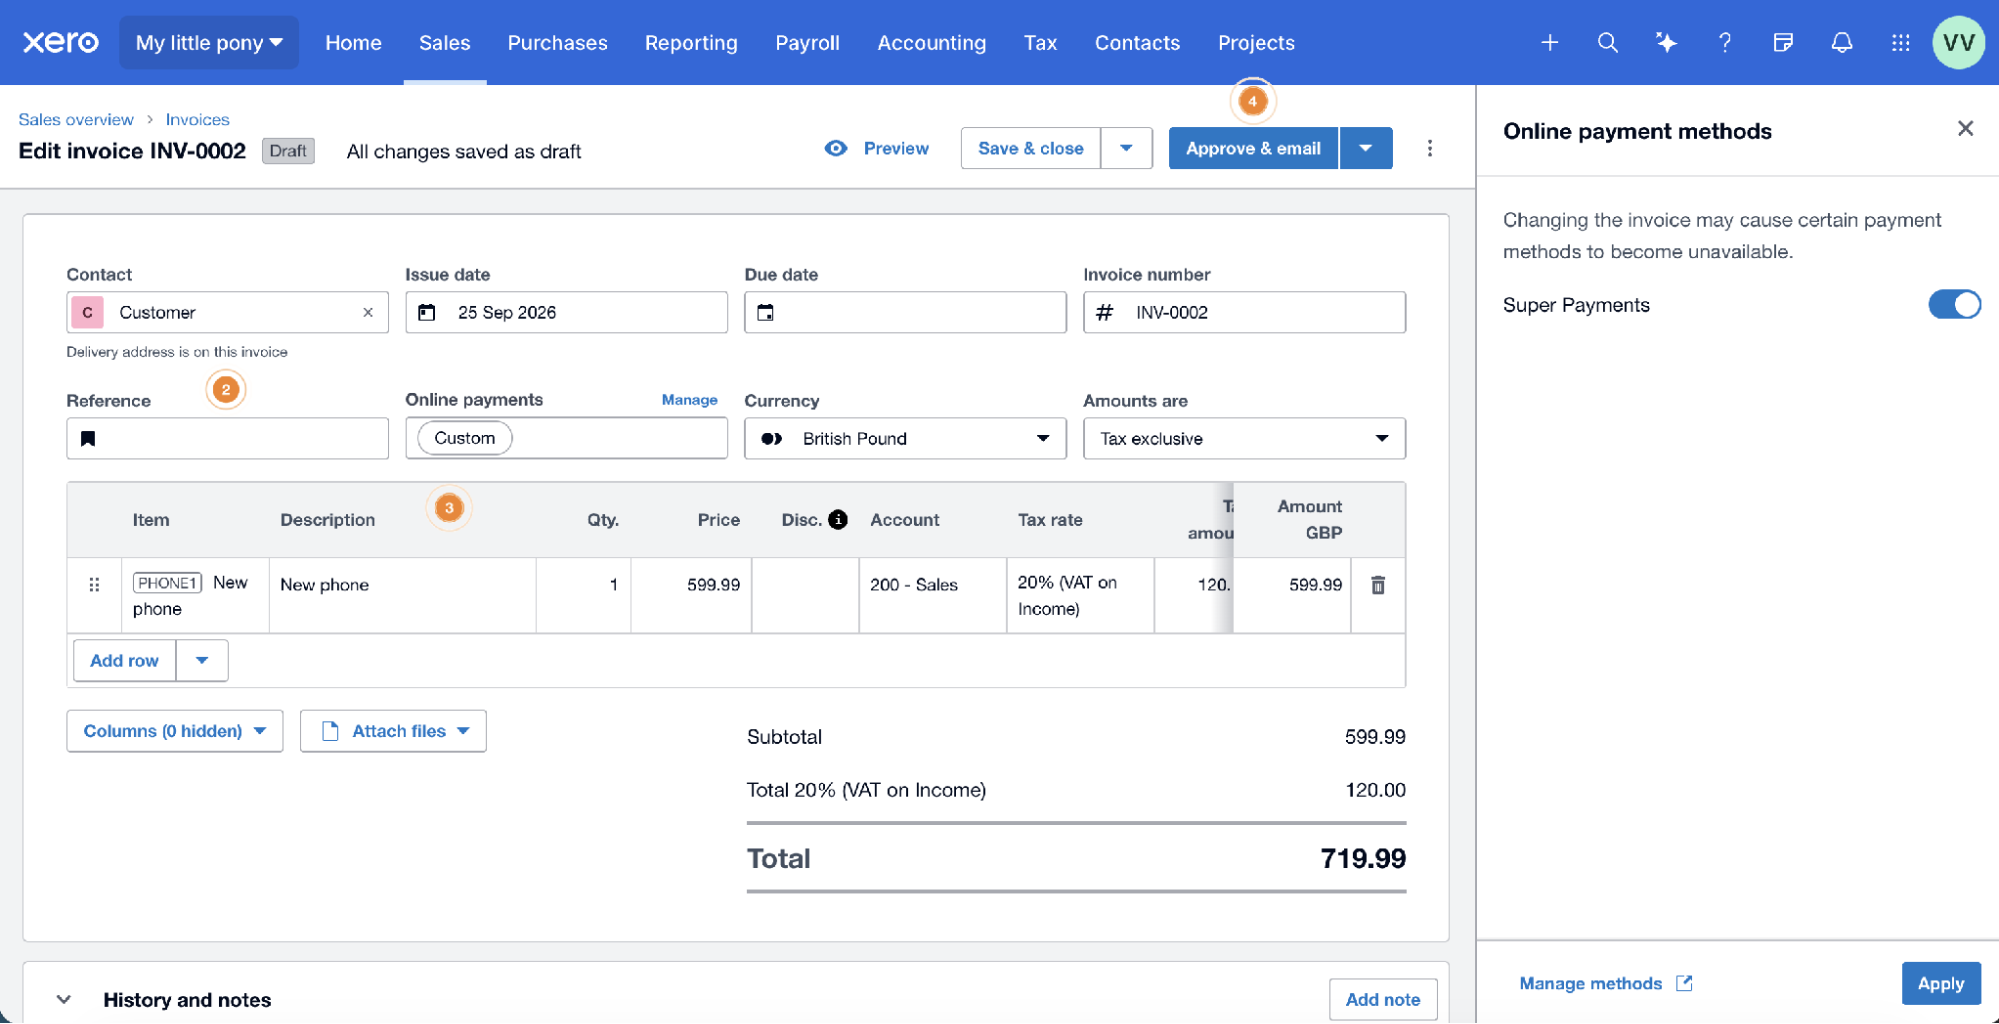
Select Super Payments in Online payment methods
Step 3: Approve and Send the Invoice
Finish and approve the invoice. Once approved, the invoice details show Super Payments as the online payment method.
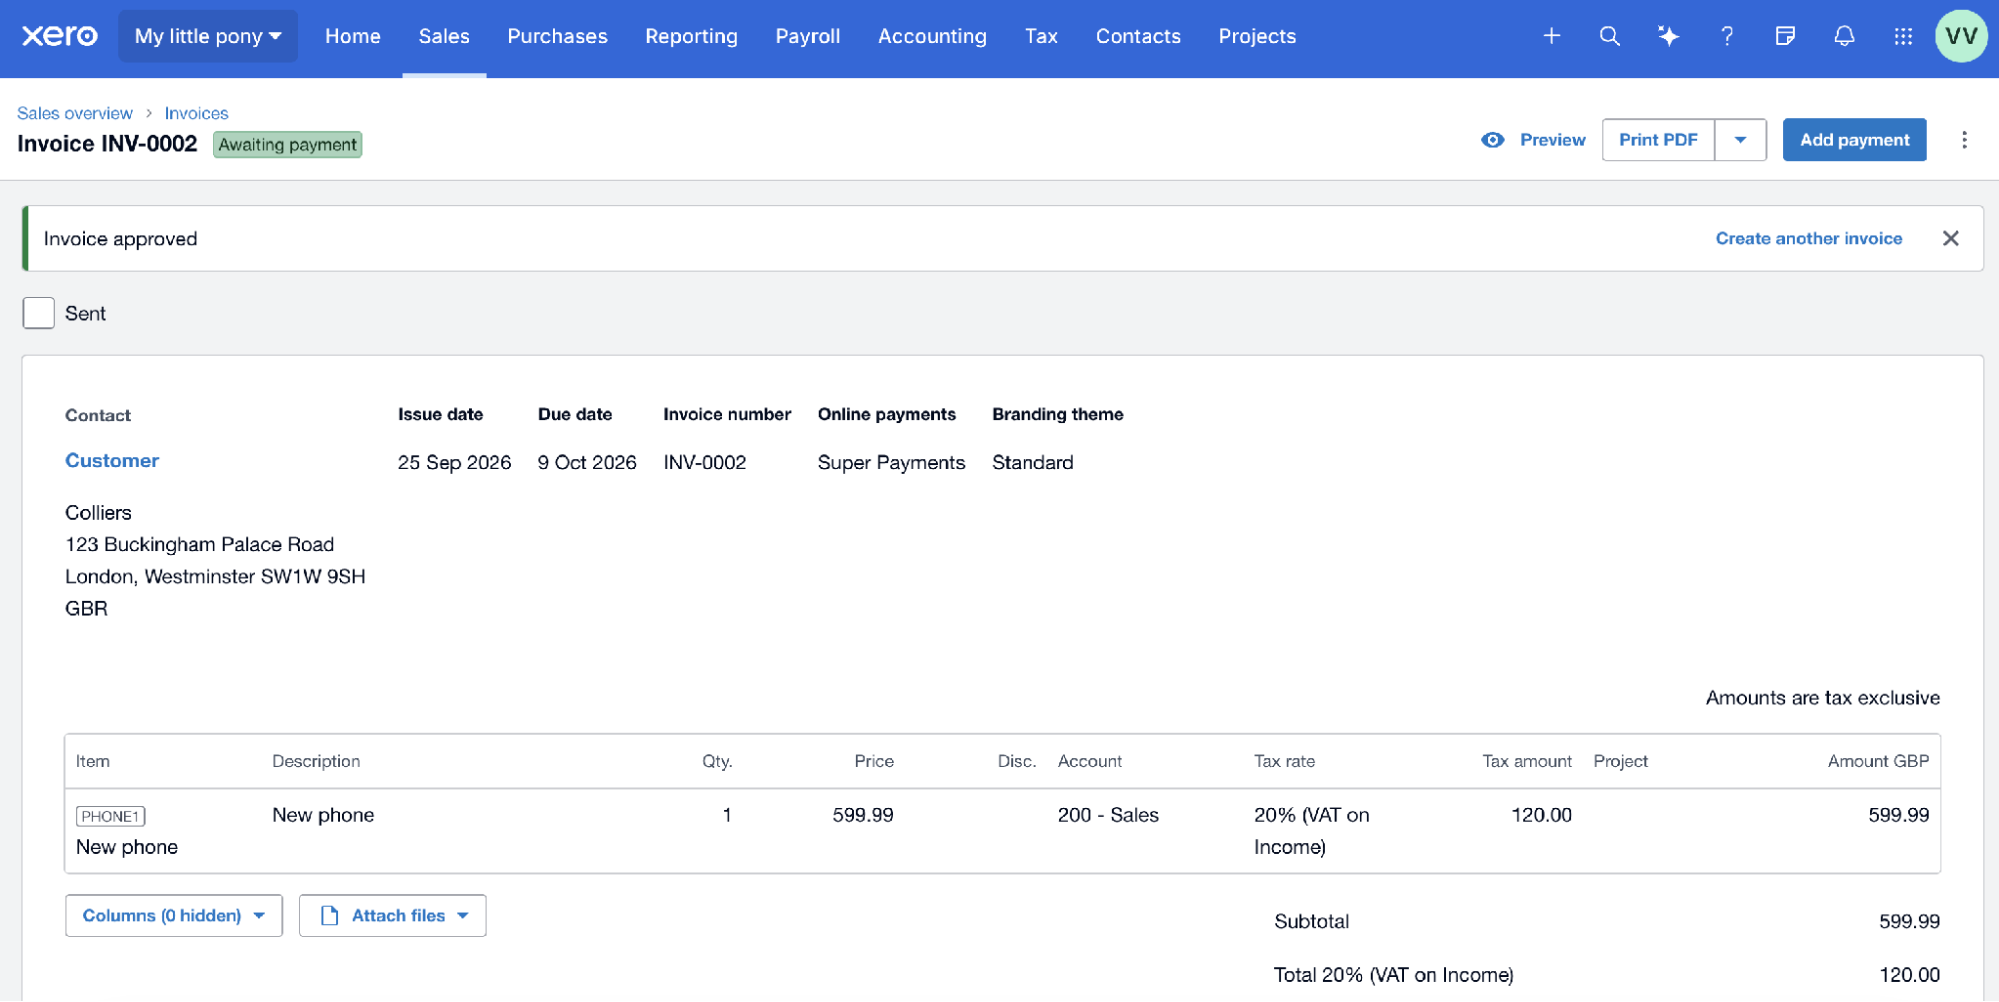
An approved invoice with Super Payments as the payment method
Part 3: What Your Customer Sees
The person who receives your invoice has a link to pay it. The link opens a page showing the amount due and a Pay with Super Payments button.
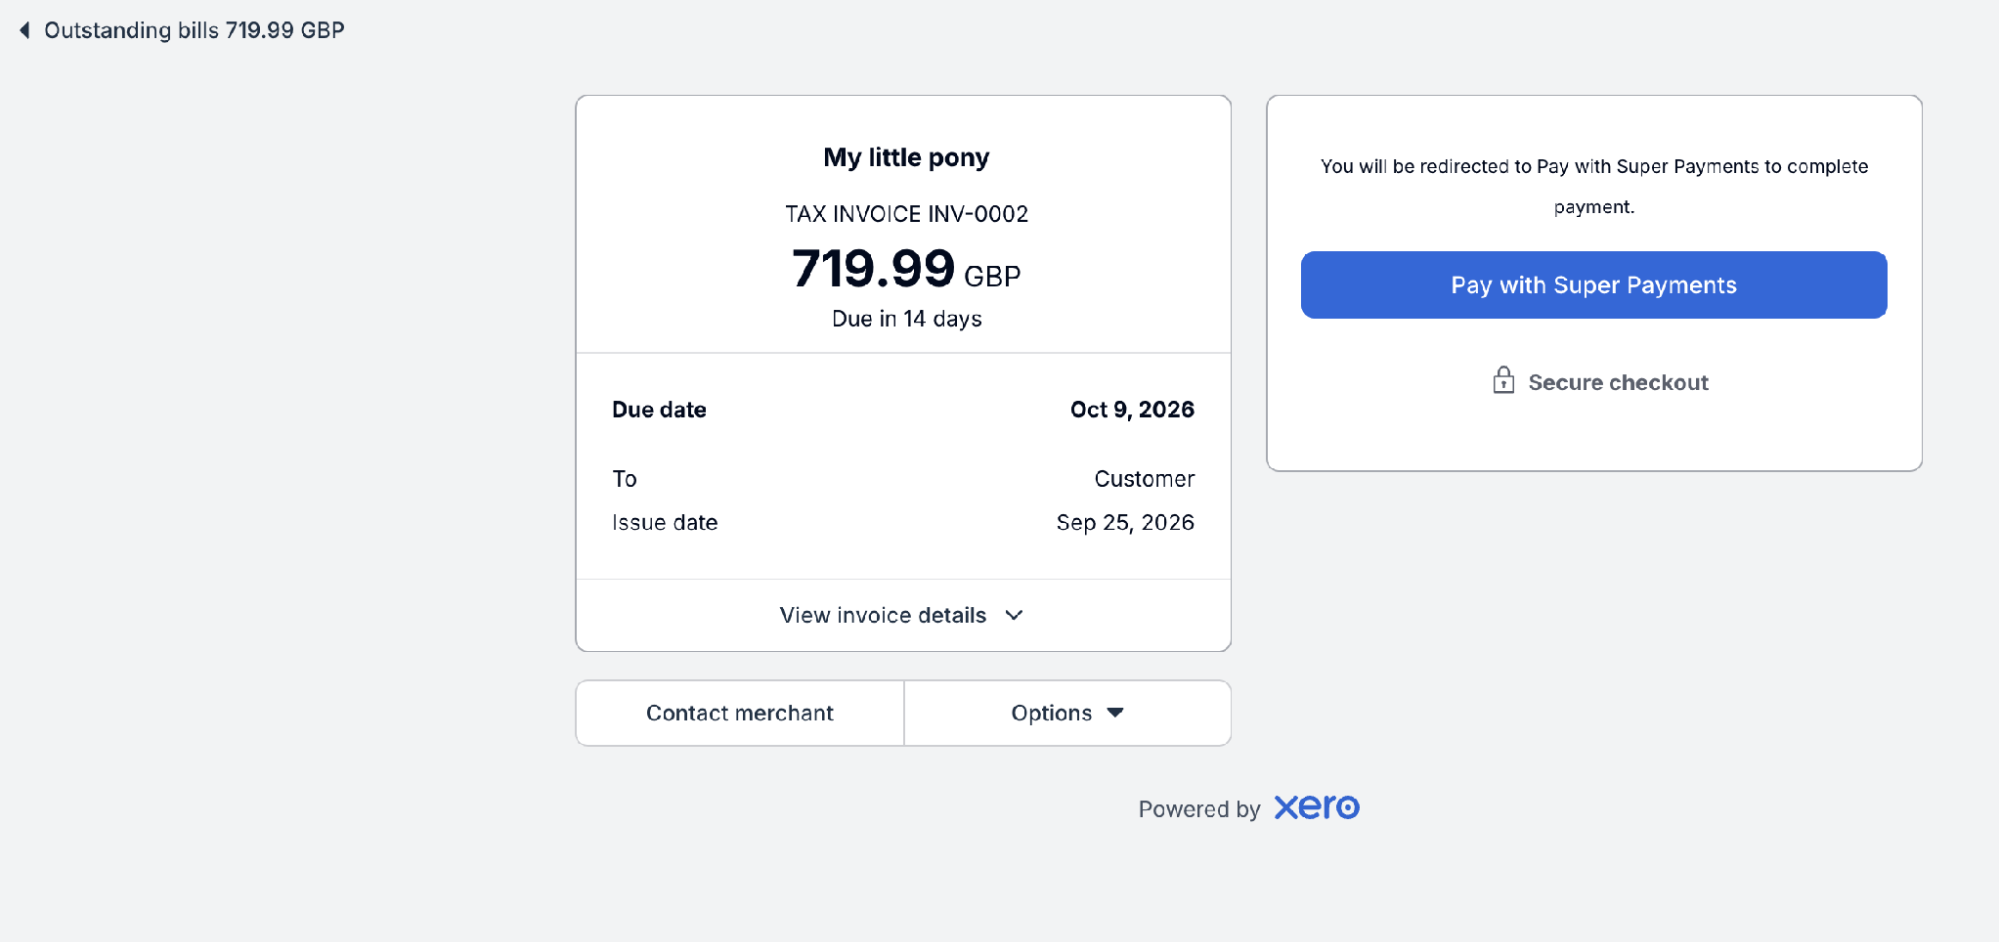
Your customer's view of the invoice
Selecting the button takes them to the Super checkout, where they choose how to pay. The payment methods shown are the ones configured in the Business Portal for the brand you chose when setting up the connection.
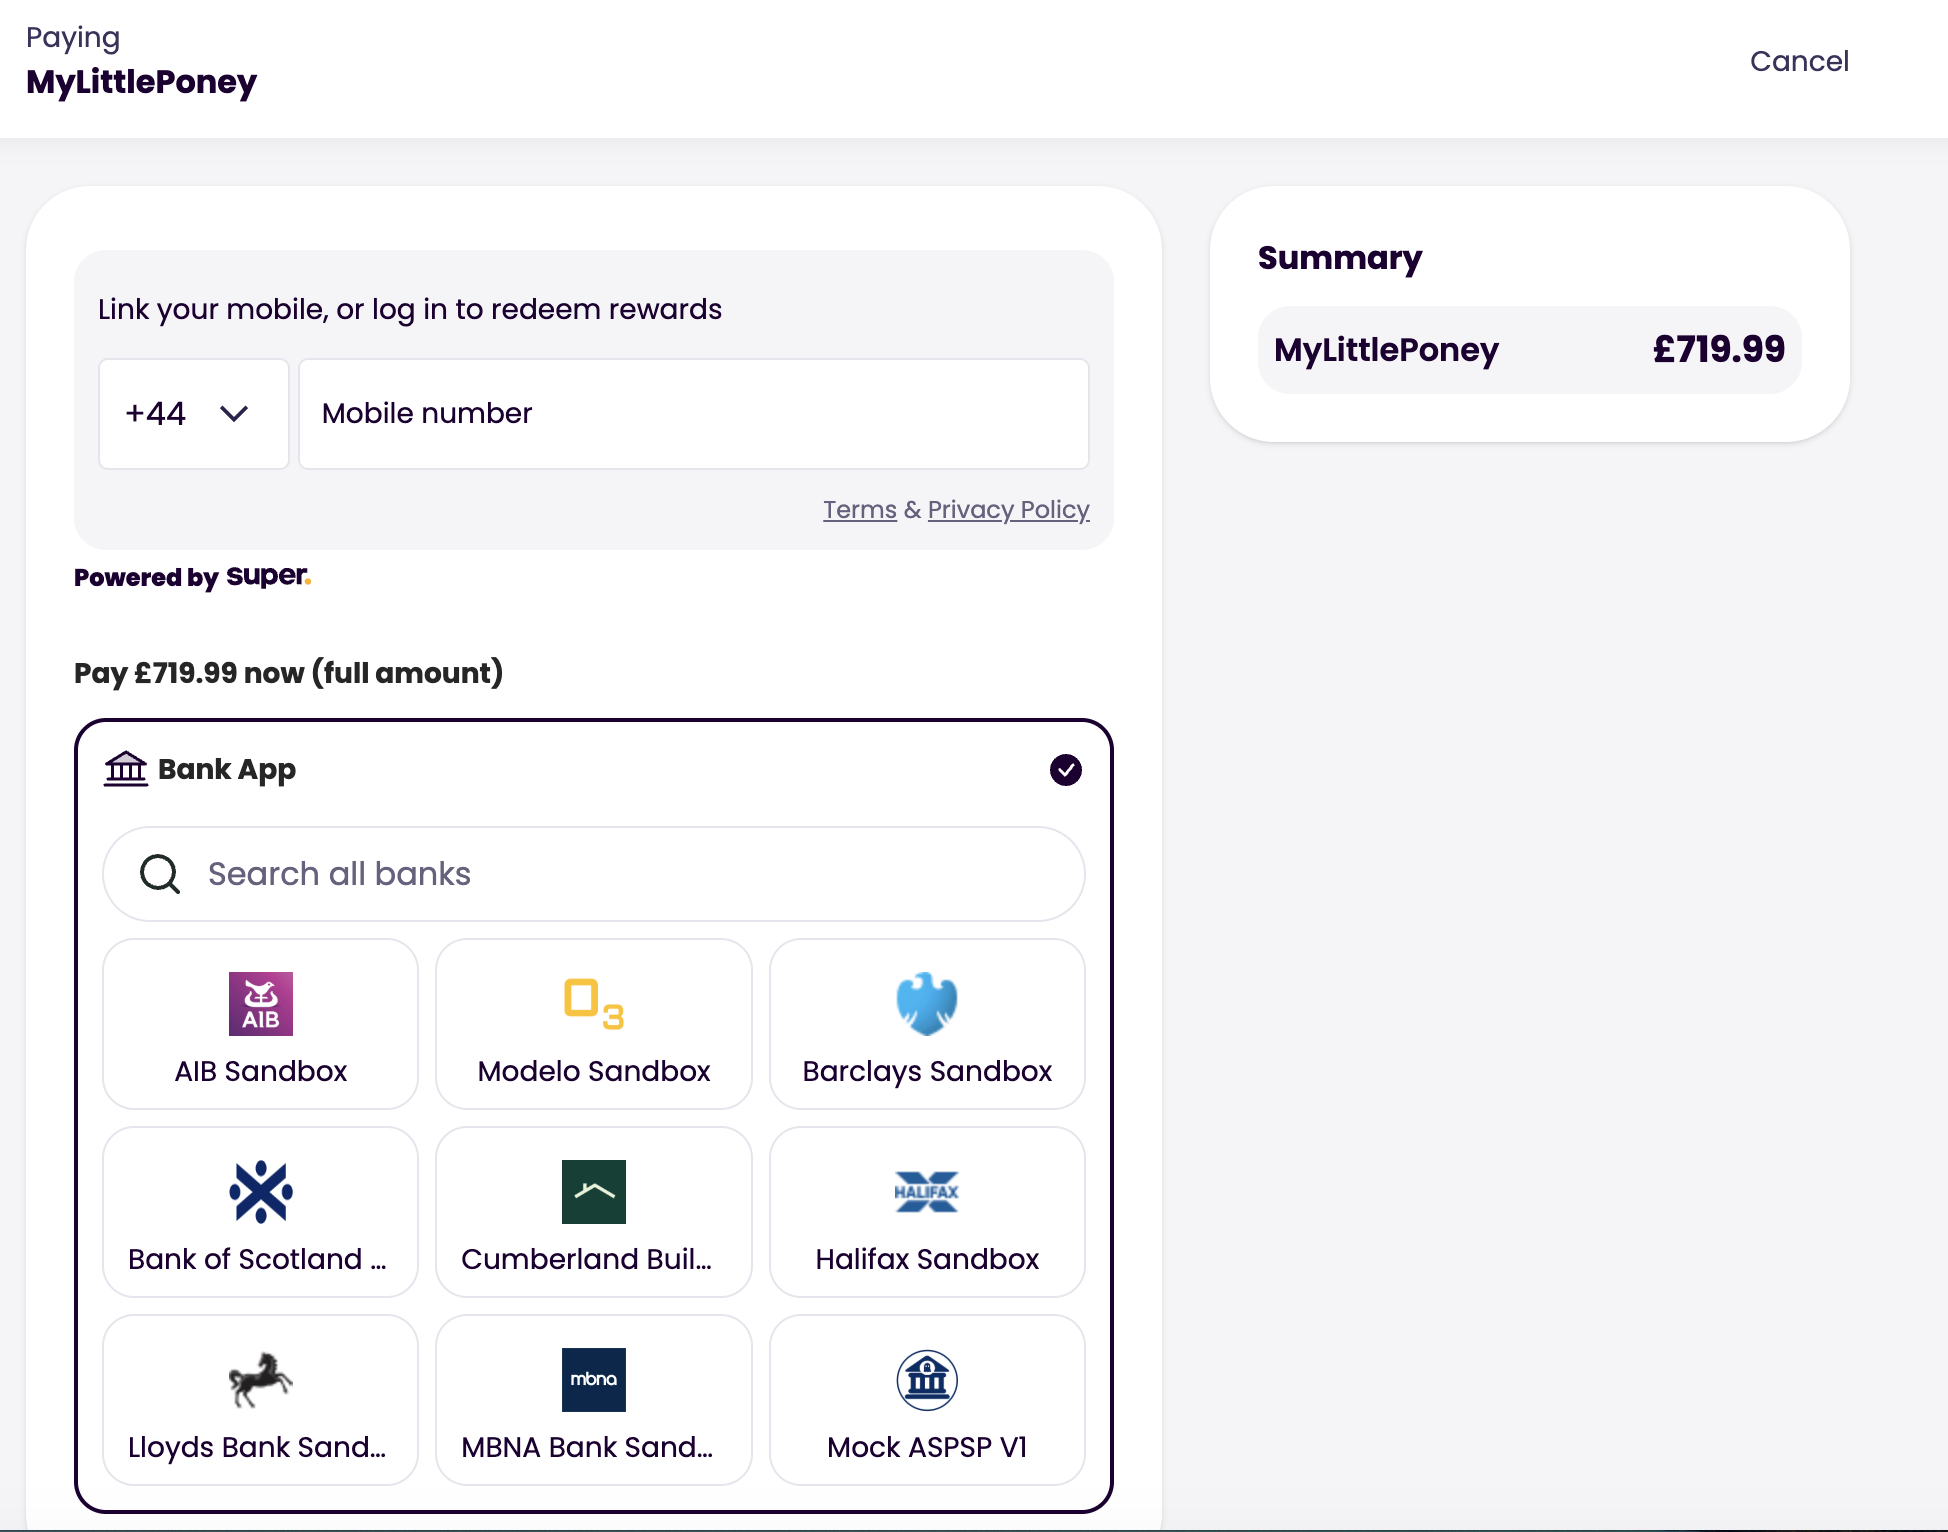
The Super checkout - Available payment methods will show
Managing Your Connection
One Active Connection at a Time
You can only have one active Xero connection at a time. If you try to add a new one while another is active, a message is displayed in the panel and you cannot continue. Revoke your existing connection first, then add the new one.
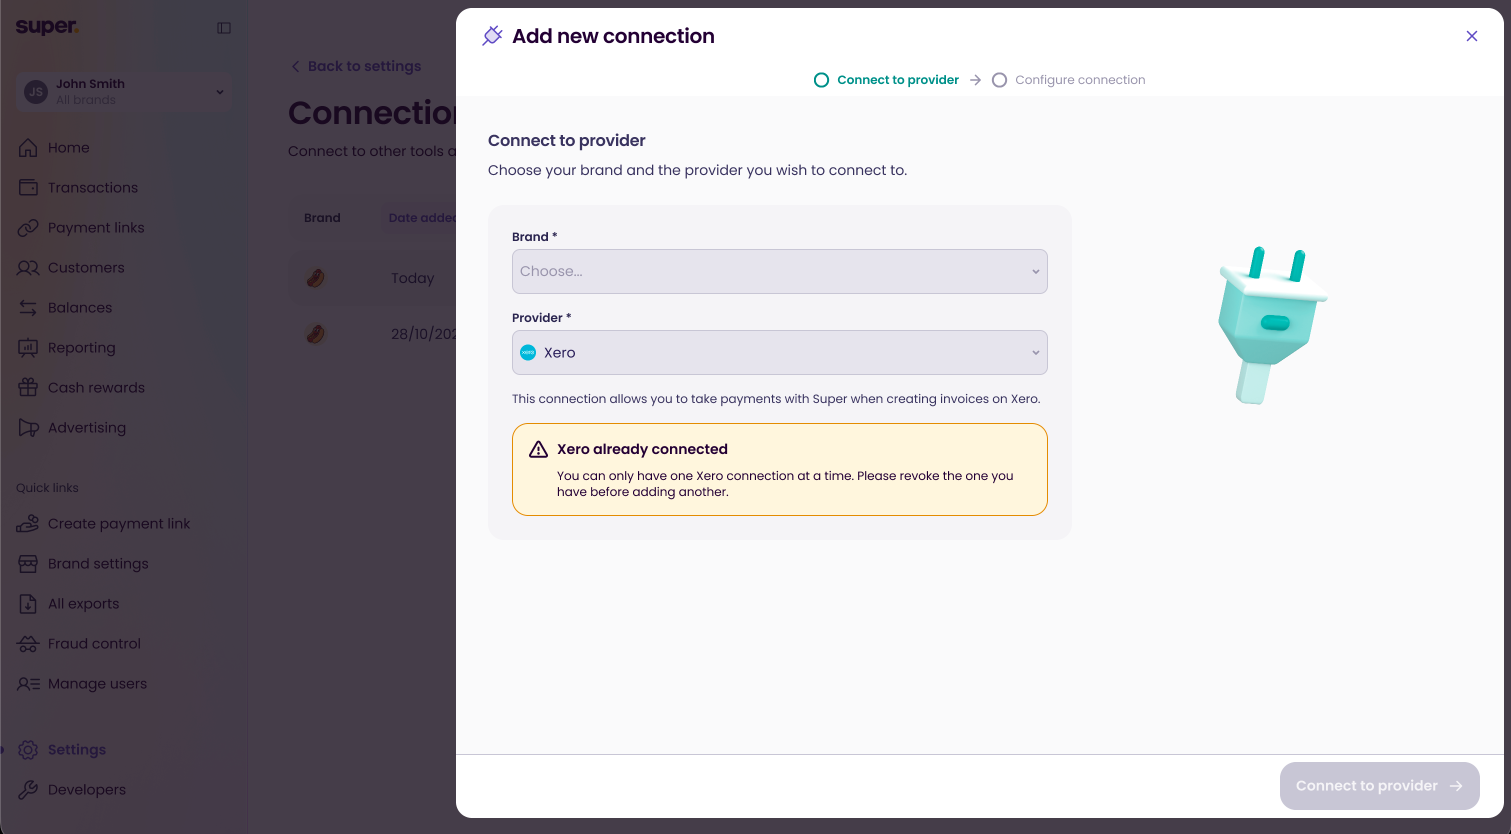
The message shown when Xero is already connected
Revoking a Connection
On the Connections page, select Revoke next to the active connection. You are asked to confirm - select Revoke connection.
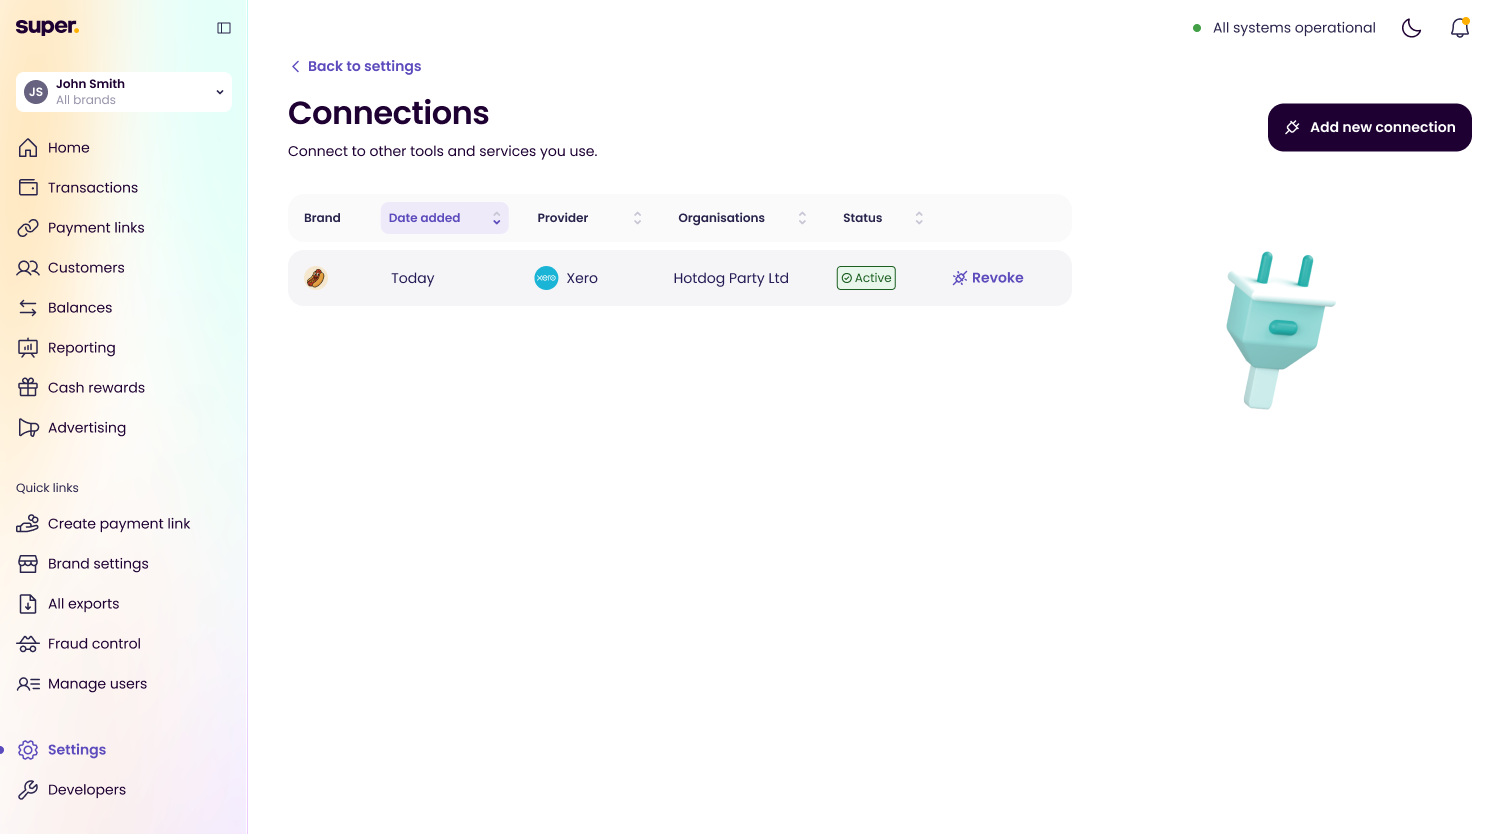
The Revoke link next to an active connection
Once revoked, the connection stays in your list with a Revoked status. You need to reconnect Xero to use it again.
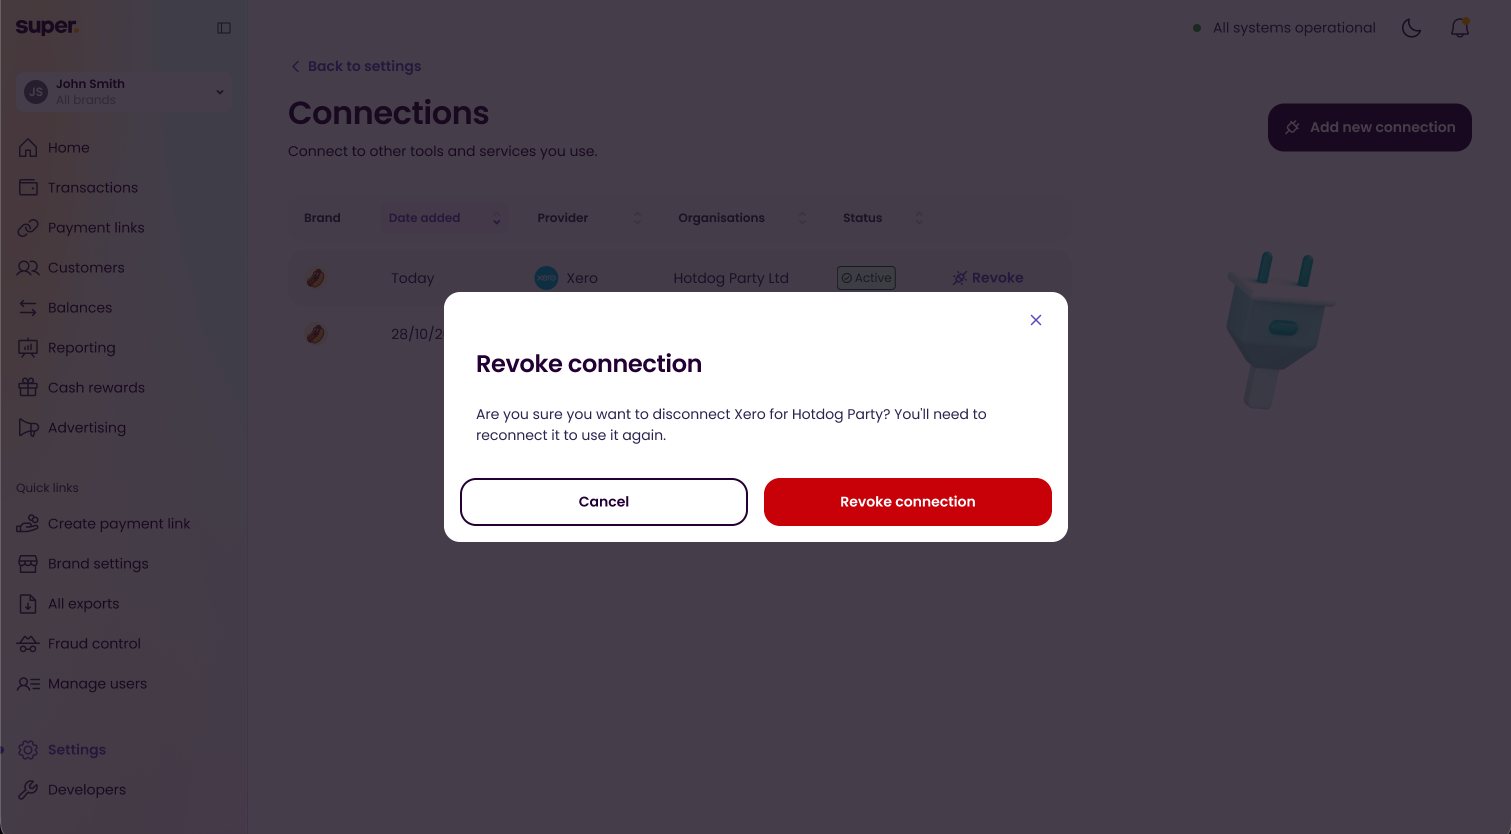
Confirm that you want to revoke the connection
Viewing Connection Details
The Connection details panel shows your active connection's Xero organisation, bank account and invoice template.
You can change the bank account and select Save changes. To connect another organisation, select Add another Xero organisation, which reconnects with Xero so you can grant access to it.
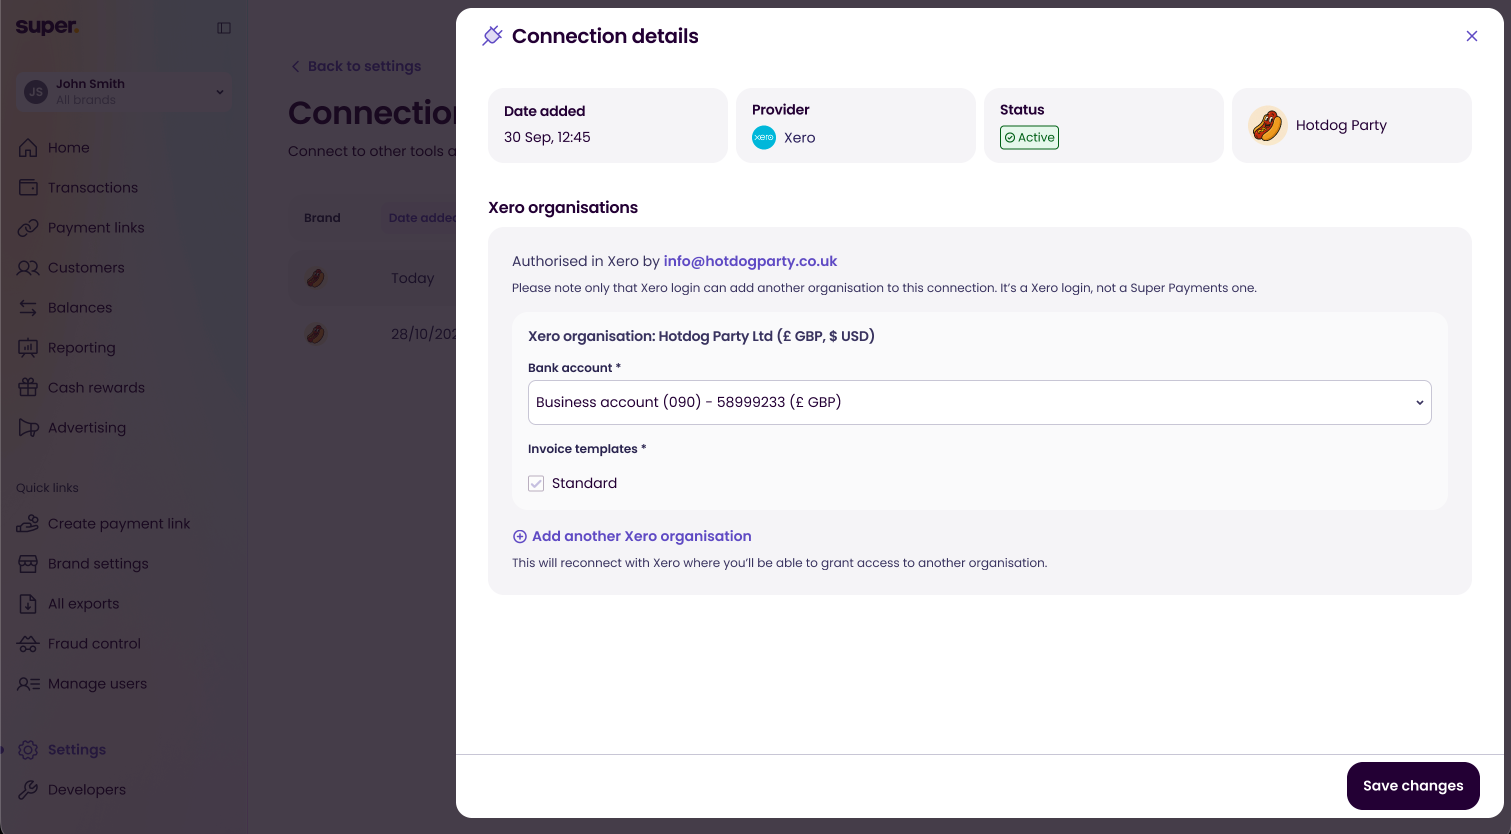
Connection details for an active connection
Updated 7 days ago