
Super for Shopify
A seamless integration with Shopify.

The video above was recorded using legacy Super branding. All steps and processes remain current.
The Super Payments integration for Shopify requires two plugins to be configured: Payments Plugin and Marketing Plugin. Both must be installed and set up for payments to work correctly. Follow the steps below to configure each one.
Payments Plugin Installation
Step 1: Add Your Shopify Integration
You will need a test/production Super account before being able to continue with the below steps.
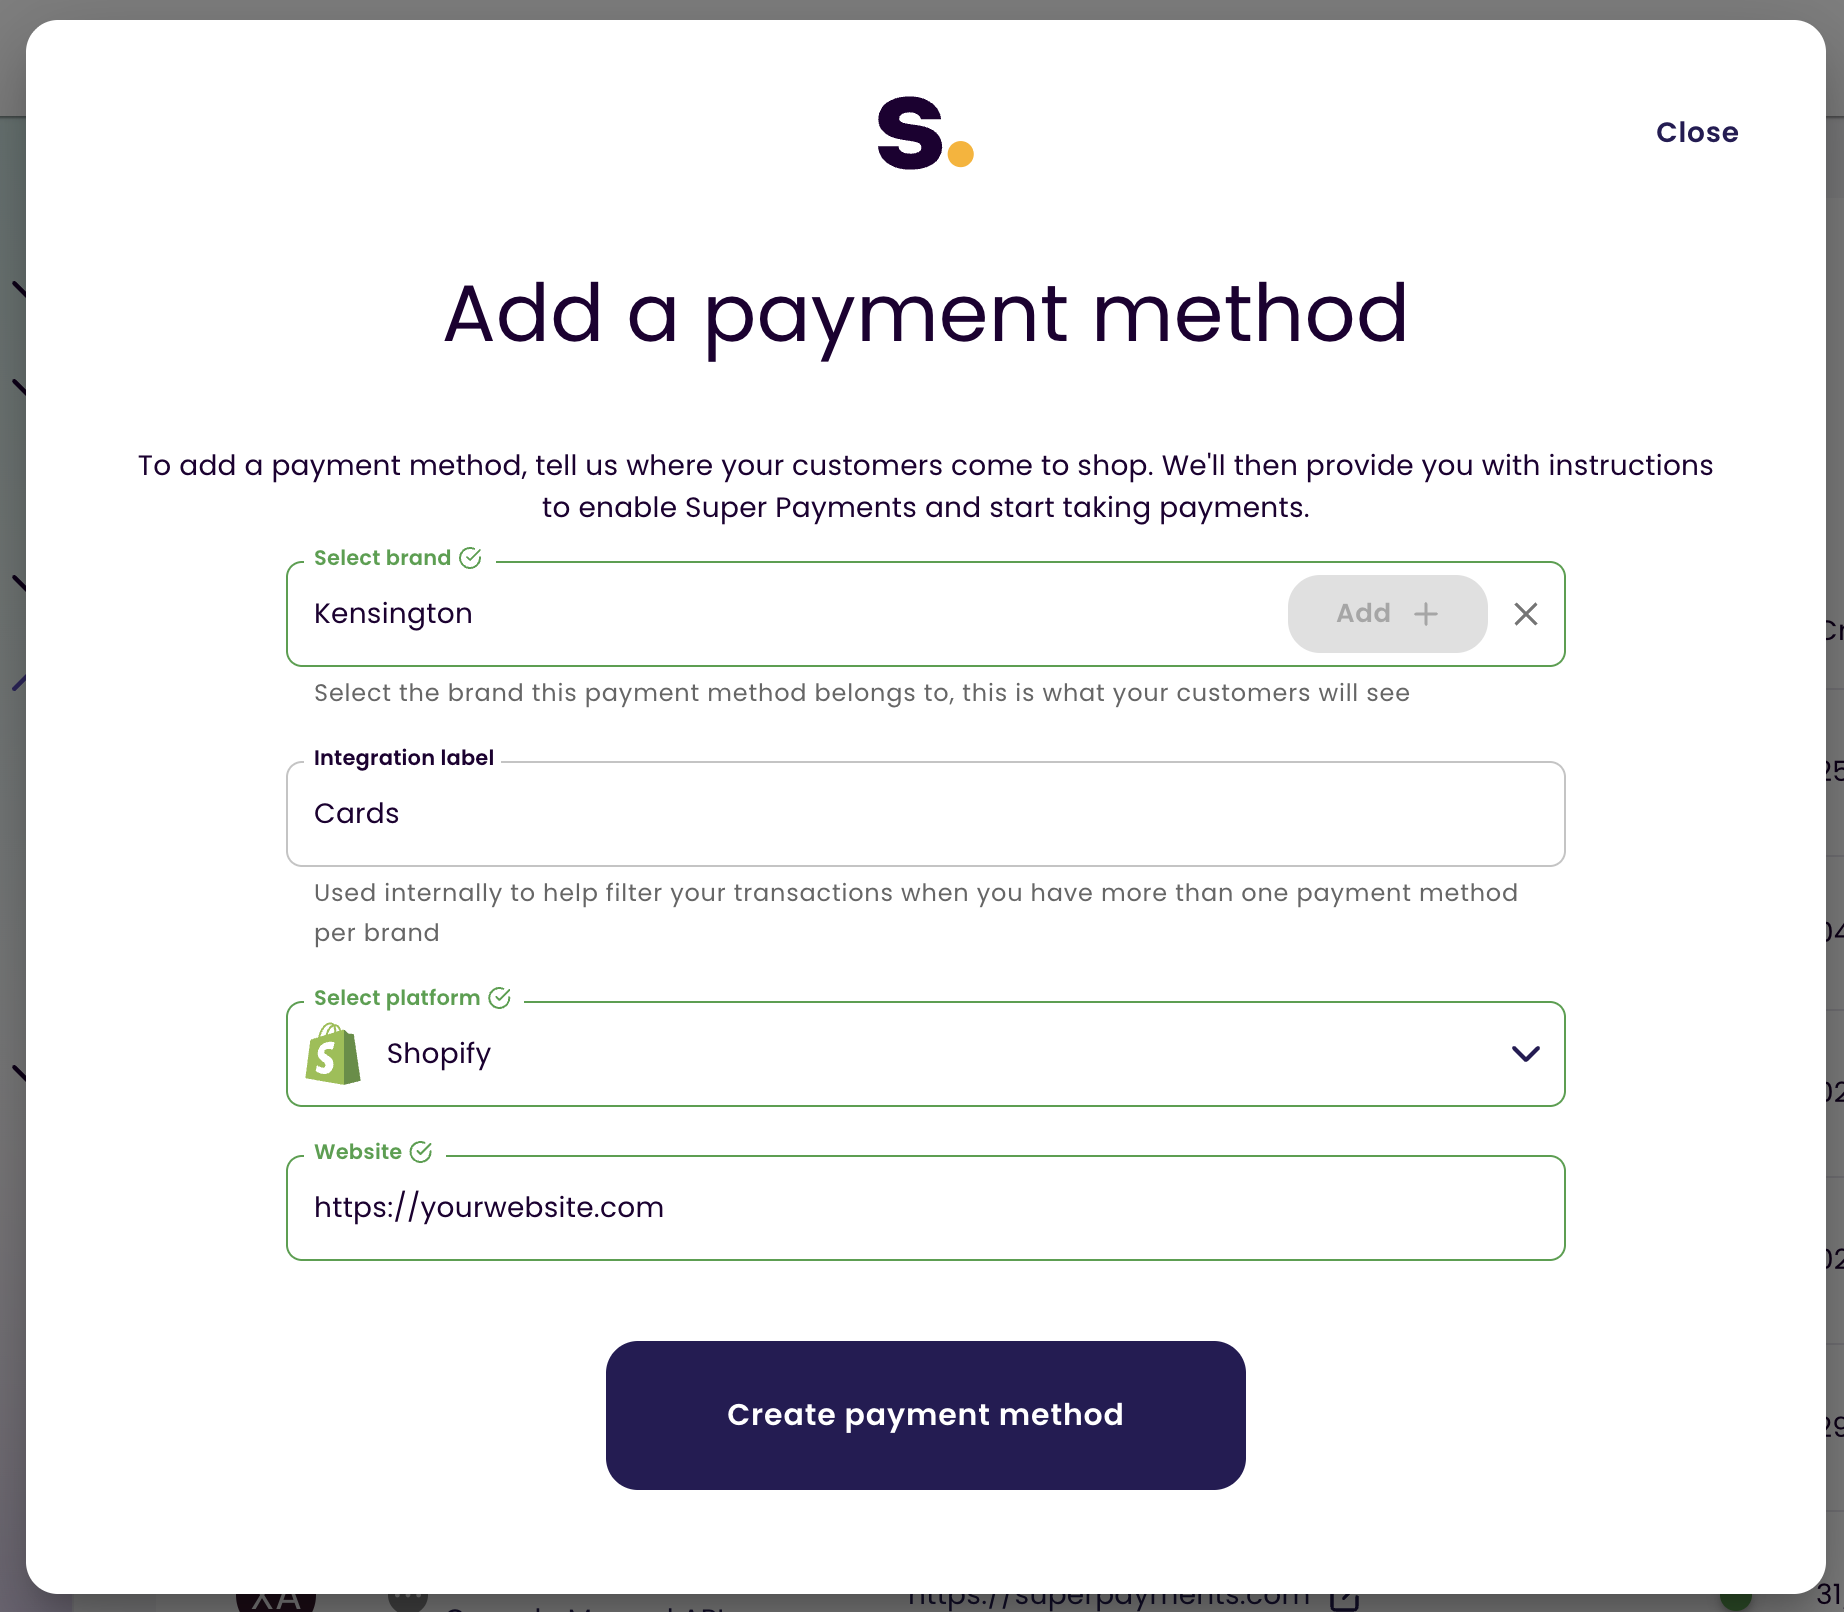
Go to your business portal Integrations & Tools -> Integrations ->Add, and add your e-commerce store url to your business portal.
Step 2: Generate Your Shopify Plugin API keys
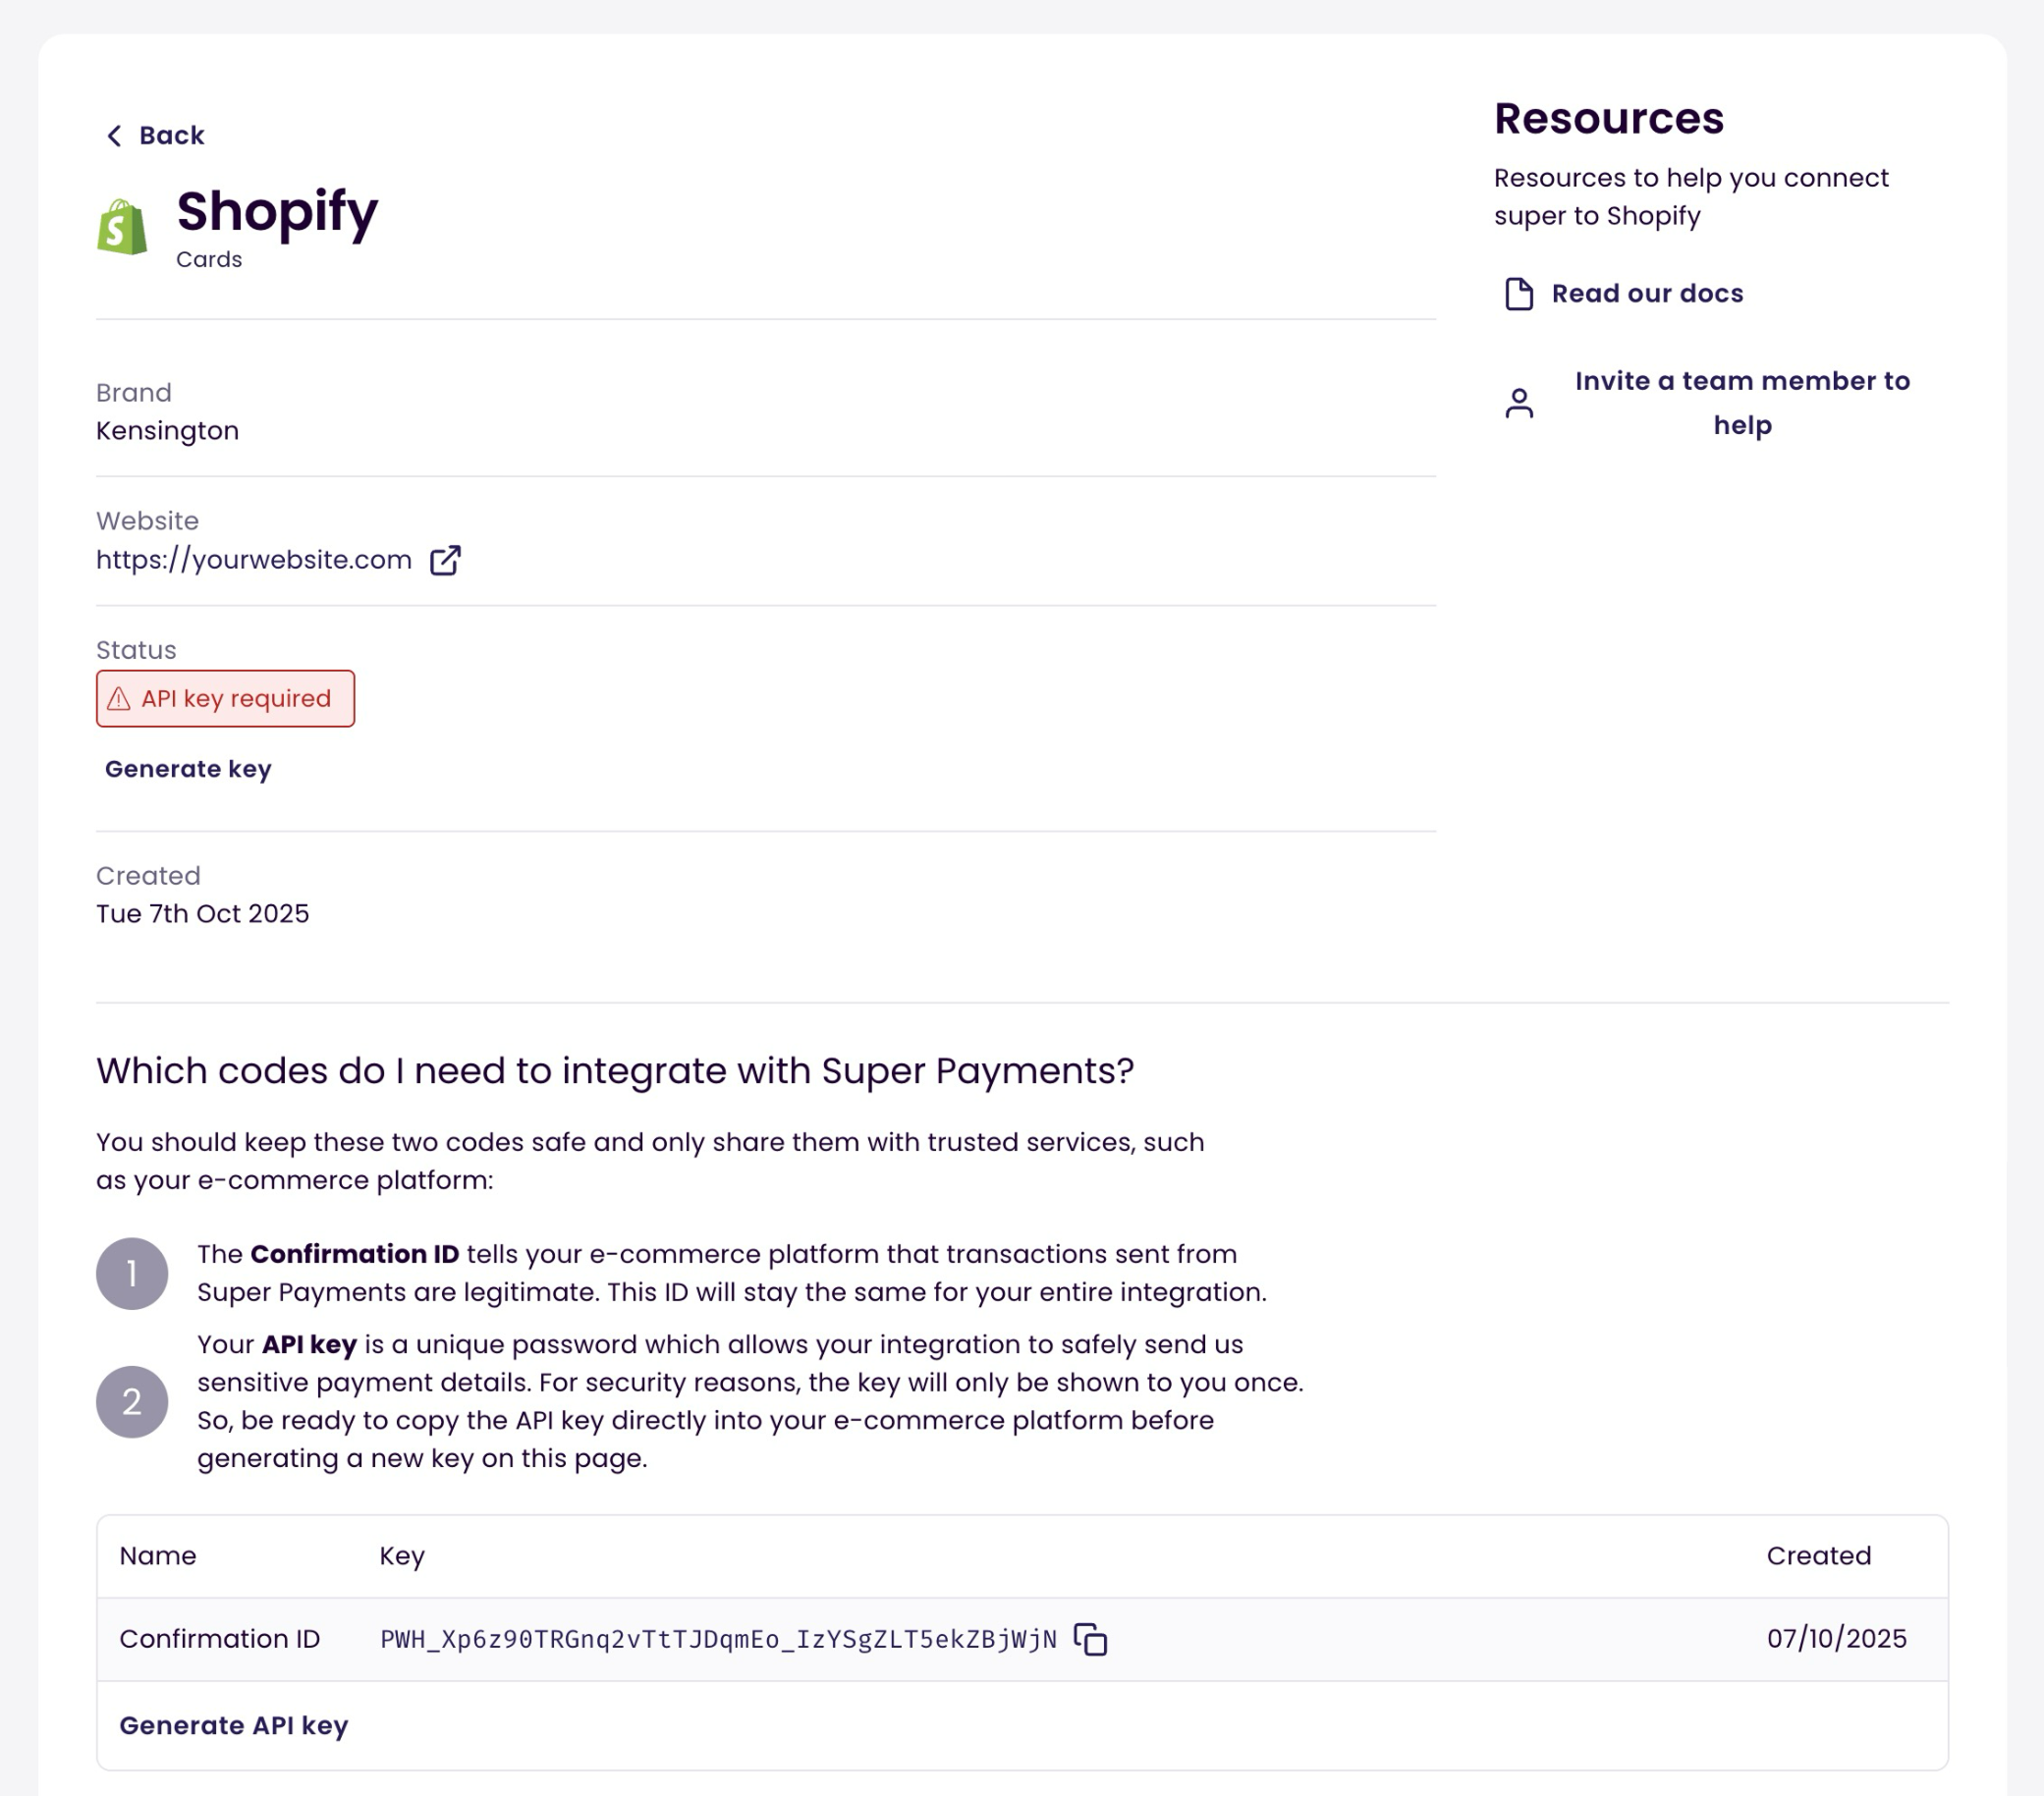
Generate your API keys in your business portal. You'll need your Confirmation ID and API key when you add your Super Payments plugin in the Shopify admin interface. Click Generate API Key to see your one time view key.
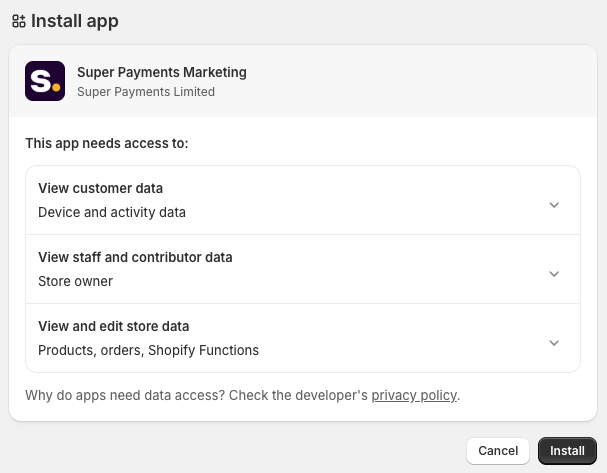
Step 3: Install the Super Payments Shopify Plugin
- Go to the Shopify Marketplace.

- Select Install
- Select the store you want to add Super Payments to

- Select Install

Step 4: Configure the Plugin
-
Copy your Confirmation ID from your Super Payments Portal into the Confirmation ID field (PWH...)
-
Copy your API key from your Super Payments Portal into the API key field (PSK...)
-
Click Save Settings
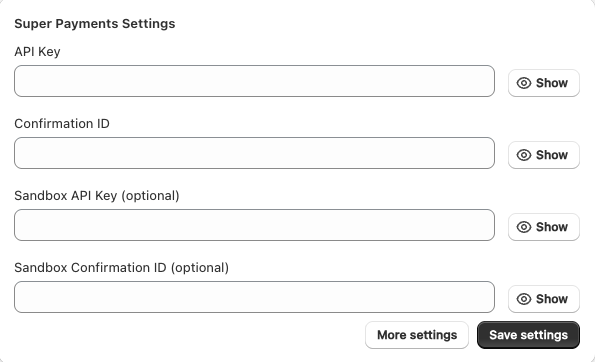
Sandbox accountIf you've been issued with sandbox credentials then enter the sandbox API key and Confirmation ID in the correct fields whilst configuring the Super Payments Plugin (see above image)
Step 5: Activate the Super Payments Plugin
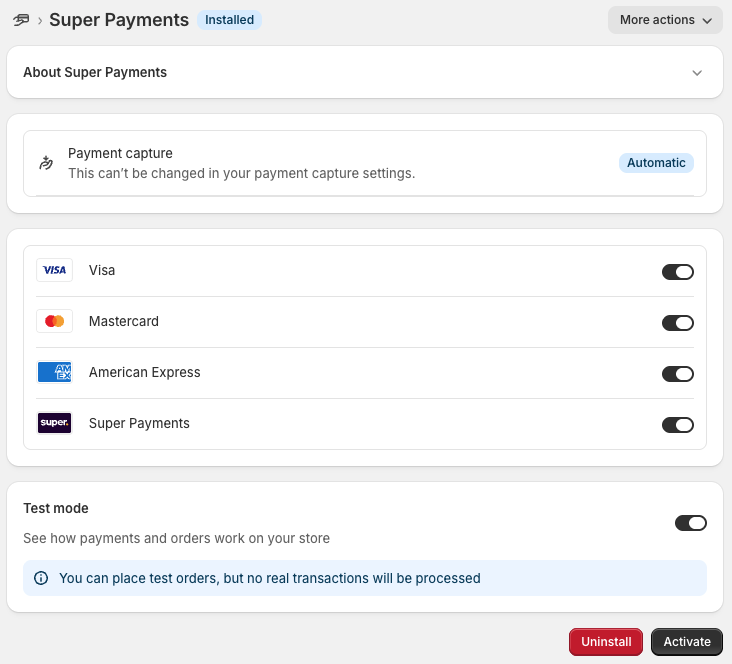
- Toggle on/off your payment methods
- Toggle on Test mode if you want to test payments.
- Select Activate
Marketing Plugin Installation
Step 1: Install the Super Payments Marketing Plugin
- Go to the Shopify Marketplace.
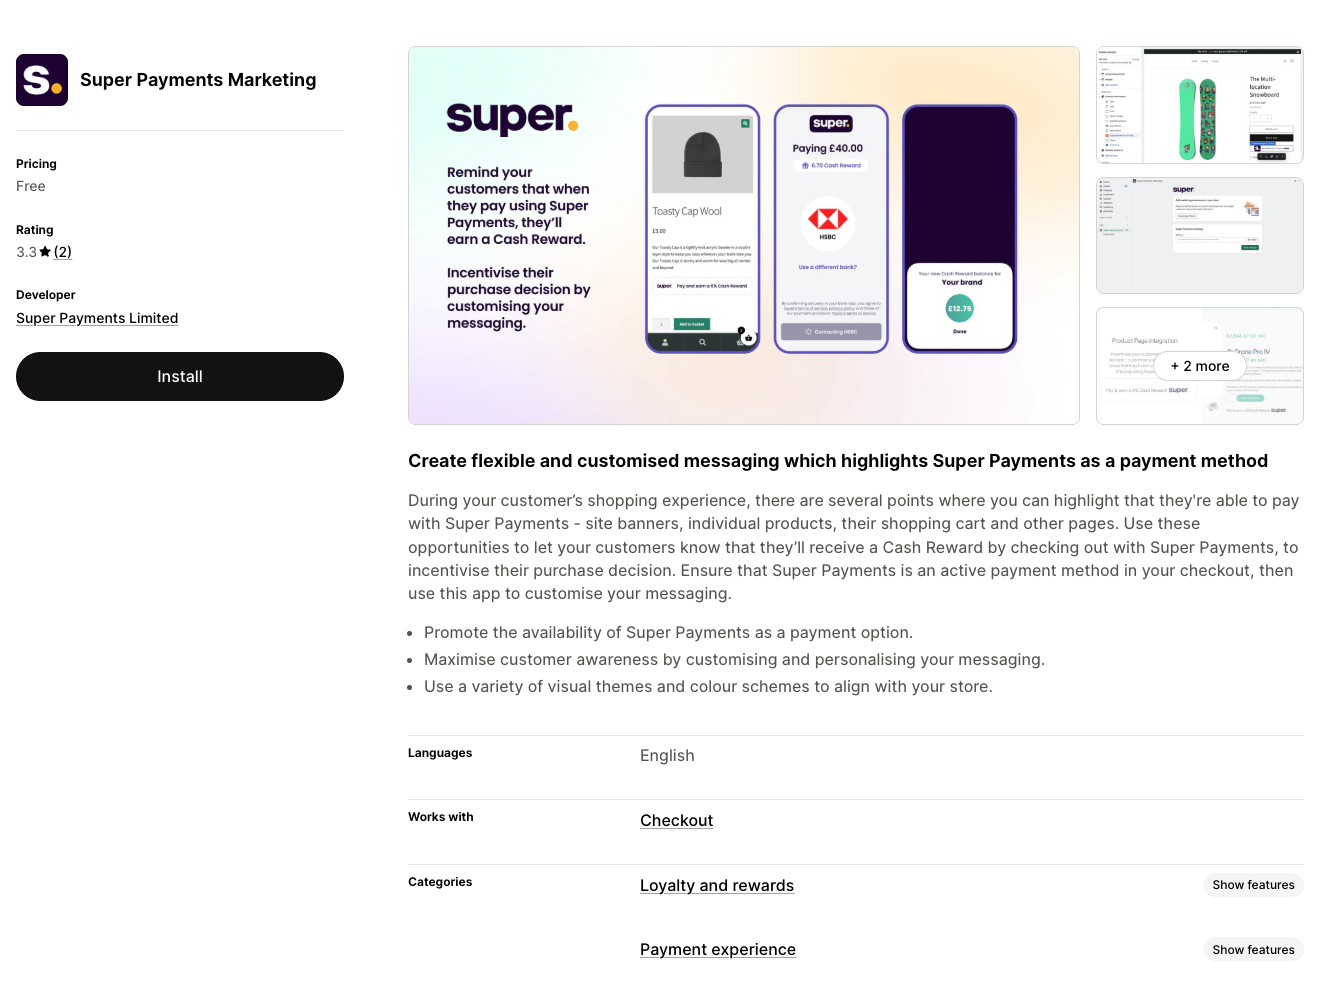
- Select Install
- Select the store you want to add the marketing plugin to

- Select Install
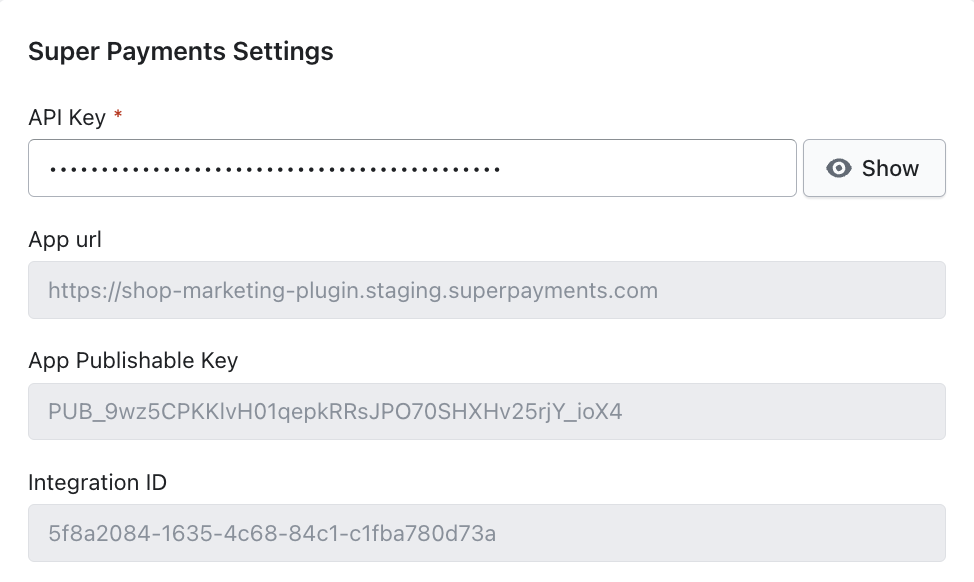
Step 2: Configure your Super Payments Marketing Plugin
-
Copy your API key from your Super Payments Portal into the API key field (PSK...)
-
Hit Save Settings

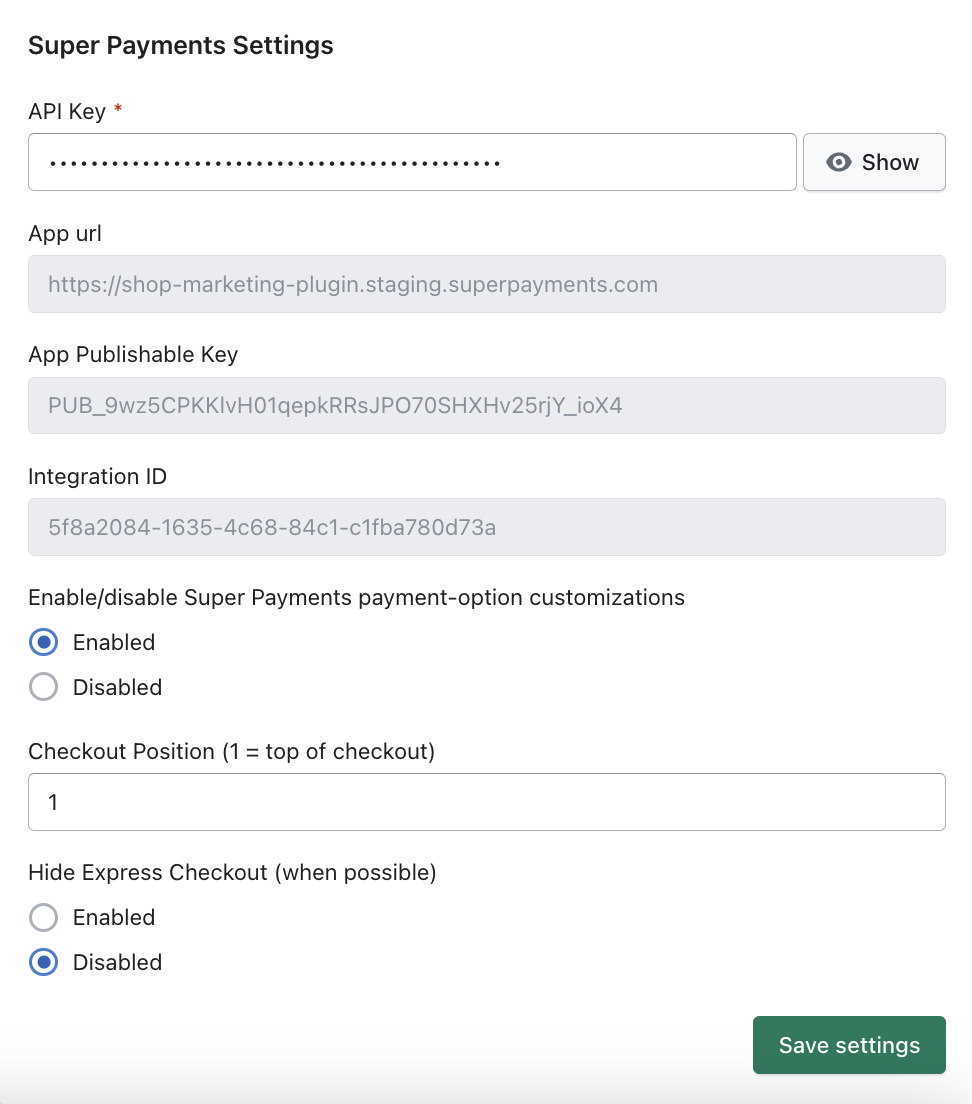
-
Once saved, extra customisations will appear. Enter the position that you want Super to appear on checkout
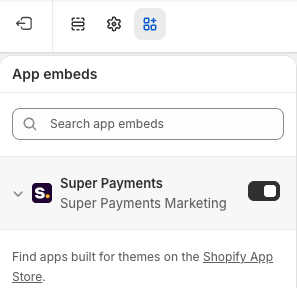
Step 3: Enable App Embeds
- Enable Super Payments Marketing on App Embeds
Step 4: Contact Us
- You will need to get in touch with [email protected] before we can enable specific marketing assets. See our available marketing assets .
Go Live
When you are ready to go live, access your account.
-
Confirm your Super Payments Plugin has the confirmation key and API key inputted in the settings, view at the below link:
https://admin.shopify.com/store/YOUR_STORE_NAME/apps/super-payments
Replace YOUR_STORE_NAME with your store name
-
Switch the Test Mode toggle off in the plugin settings and click Save
-
You're now ready to accept live payments
FAQs
How do I get sandbox credentials?
sk_test_ and access to the sandbox portal at business.test.superpayments.com.
I found a bug - what do I do?
Which Shopify checkout types does Super support?
Can I test refunds in the sandbox?
Updated 3 months ago